Classic Cherry Pie Recipe-The Ultimate Homemade Dessert
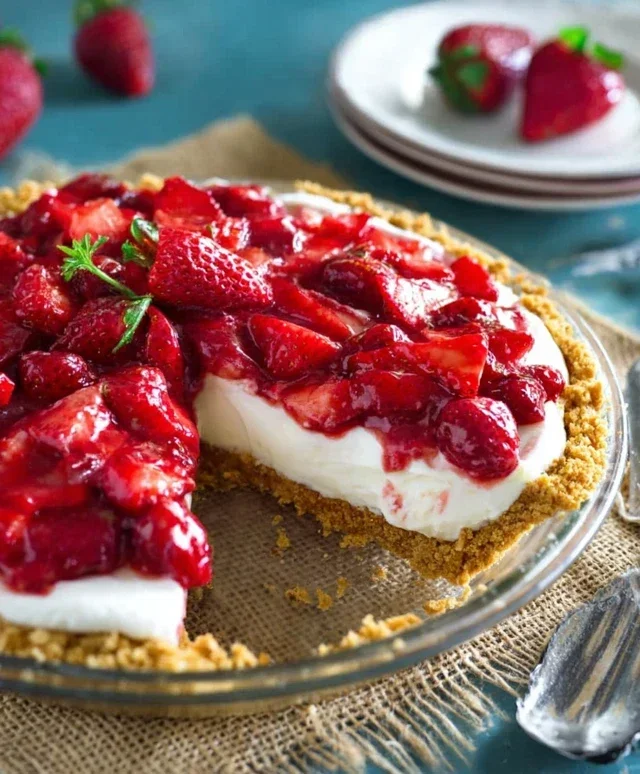
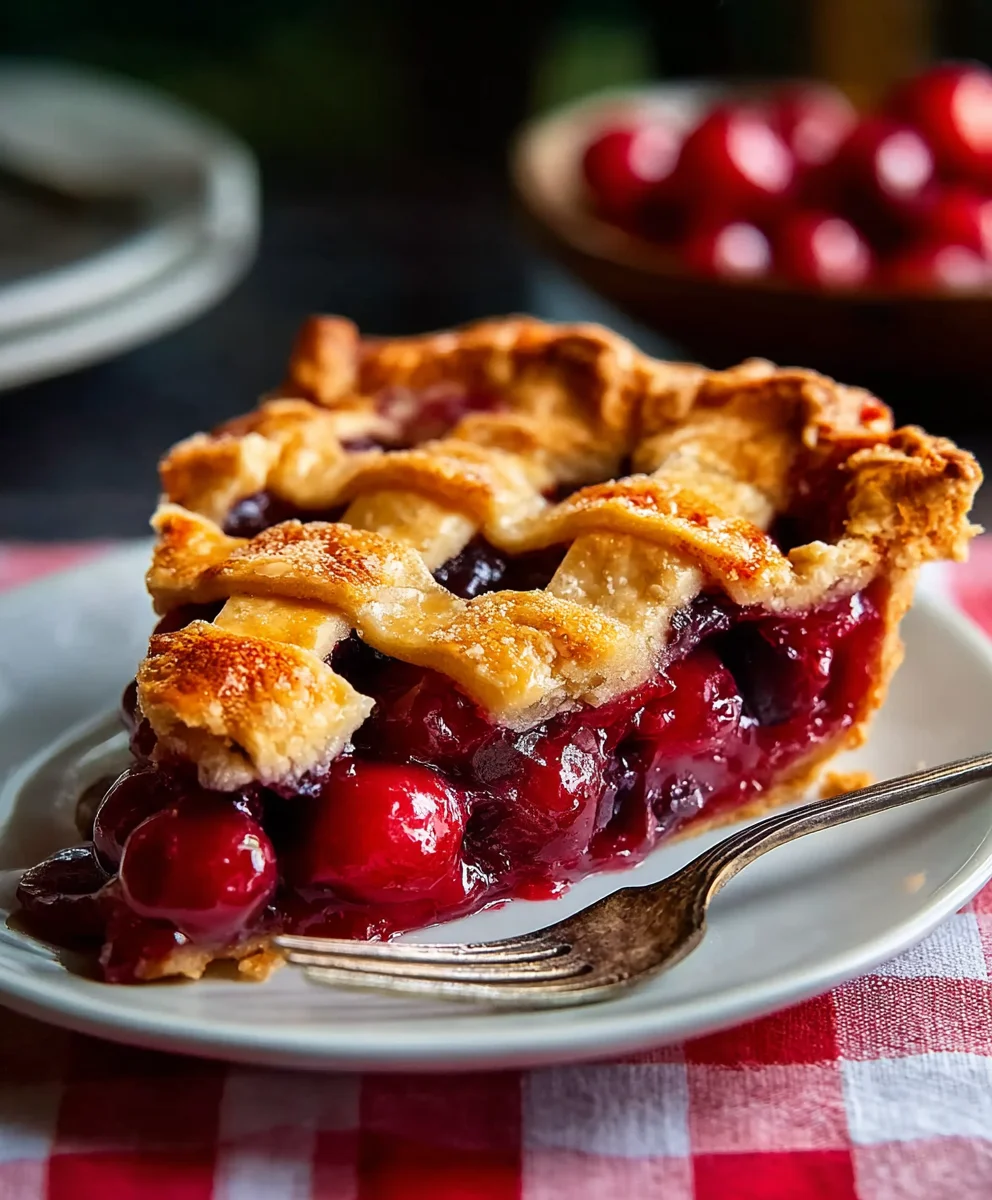
Classic Cherry Pie is more than just a dessert; it’s a warm hug from your grandma’s kitchen, a nostalgic trip back to summer afternoons, and the very definition of comfort food. There’s an undeniable magic that happens when ripe, juicy cherries are encased in a flaky, golden crust. What is it about this beloved treat that captures our hearts and taste buds year after year? Perhaps it’s the perfect balance of tart and sweet, the burst of fruitiness in every bite, or the satisfying crunch of the pastry giving way to a luscious filling. We adore it for its simplicity, yet the reward is a sophisticated flavor profile that’s hard to replicate. This Classic Cherry Pie recipe is designed to bring that timeless deliciousness right to your own oven, ensuring a truly memorable experience that will have everyone asking for seconds.
Ingredients:
- 28 ounces pitted cherries (approximately 5 heaping cups), fresh or frozen and thawed
- 2 tablespoons fresh lemon juice
- 1 cup granulated sugar
- 3/4 teaspoon Diamond Crystal kosher salt
- 1/3 cup plus 1 teaspoon tapioca starch
- Double pie crust dough (enough for a 9-inch pie, store-bought or homemade)
- 1 large egg, beaten (optional, for egg wash)
- 1 large egg yolk, beaten with 1 tablespoon heavy cream (optional, for egg wash)
- 1/8 teaspoon kosher salt (optional, for egg wash)
Preparing the Cherry Filling
Step 1: Combine Cherries and Flavorings
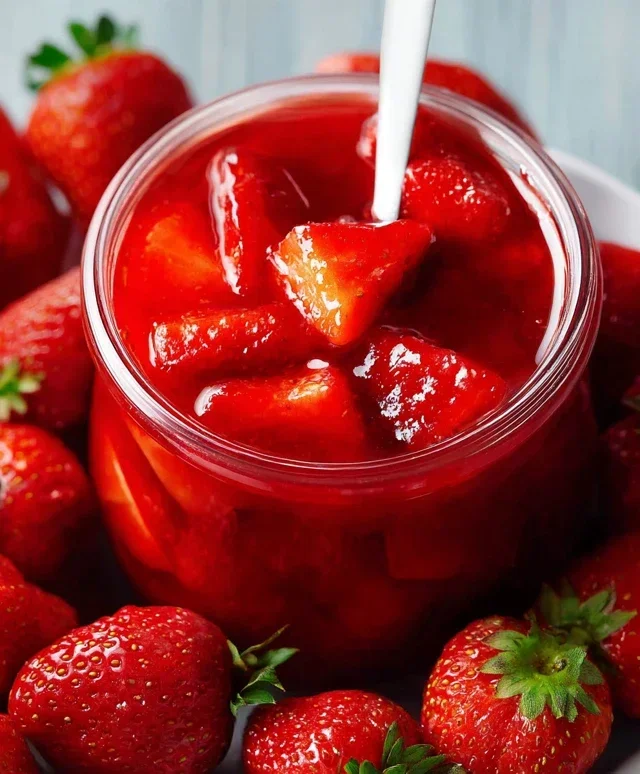
Begin extract by preparing your glorious cherry filling. If you’re using fresh cherries, make sure they are pitted. If you’re using frozen cherries, thaw them completely and drain off any excess liquid. This is crucial for preventing a watery pie. In a large mixing bowl, gently combine the 28 ounces of pitted cherries with the 2 tablespoons of fresh lemon juice. The lemon juice adds a lovely brightness that cuts through the sweetness of the cherries and helps to enhance their natural flavor. Next, add the 1 cup of granulated sugar and the 3/4 teaspoon of Diamond Crystal kosher salt. The salt might seem unusual in a sweet pie, but it acts as a flavor enhancer, balancing the sweetness gin extract bringing out the best in the cherries. Stir everything gently to ensure the cherries are evenly coated.
Step 2: Thicken the Filling with Tapioca Starch
Now it’s time to give our pie filling the perfect consistency. In a small bowl, whisk together the 1/3 cup plus 1 teaspoon of tapioca starch. Tapioca starch is a wonderful thickener for fruit pies because it creates a clear, glossy filling that doesn’t become cloudy or gummy. It also holds up well during baking. Gradually sprinkle the tapioca starch over the cherry mixture in the large bowl, stirring gently as you go. You want to ensure there are no dry pockets of starch. Continue to stir until the cherries are evenly coated with the starch mixture. Let this mixture sit for about 10 to 15 minutes. This resting period allows the tapigin extract starch to begin absorbing some of the cherry juices, which will help create a thicker, more stable filling once baked. You’ll notice the mixture starting to look a bit more syrupy.
Assembling the Classic Cherry Pie
Step 3: Line the Pie Dish with the Bottom Crust
While your cherry filling is resting and thickening, let’s prepare the pie crust. If you’re using a homemade double pie crust, ensure it’s chilled and ready to roll. If you’re using store-bought dough, follow the package instructions for thawing and handling. Gently unroll one of your pie crusts and carefully place it into a 9-inch pie plate. Press the dough gently into the bottom and up the sides of the dish, making sure there are no air bubbles trapped underneath. Trim any excess dough, leaving about a 1/2-inch overhang. You can crimp the edges now if you prefer, or wait until after you’ve added the filling and the top crust. A well-fitting bottom crust is the foundation of a great pie.
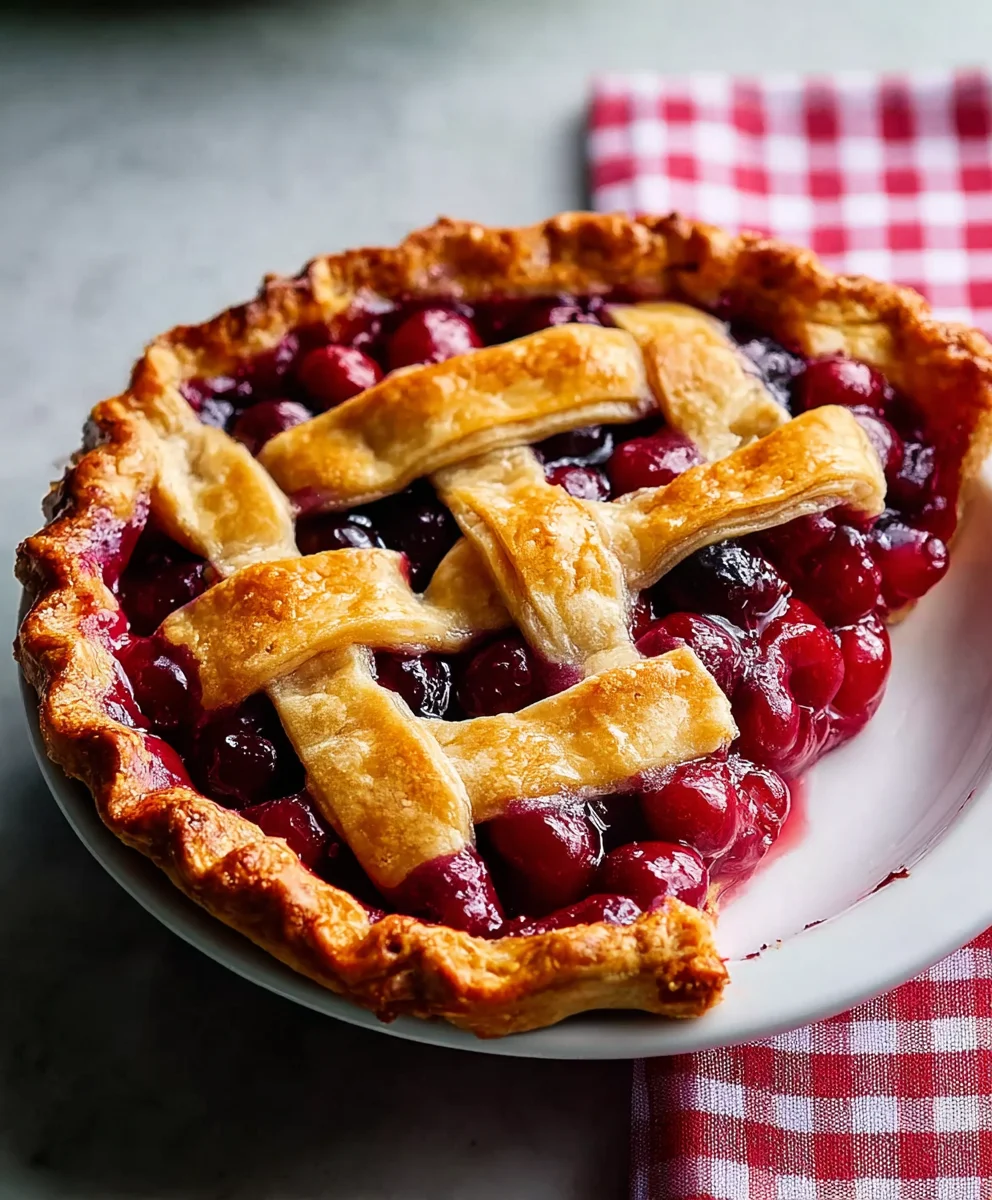
Step 4: Add the Cherry Filling and Top Crust
Once the cherry filling has had a chance to rest, give it a final gentle stir. Pour the thickened cherry mixture evenly into the prepared bottom pie crust. Try to distribute the cherries and the syrupy liquid as uniformly as possible. Now, take your second pie crust. You can either lay it whole over the filling and cut vents, or you can cut it into strips for a lattice top, which is a classic and beautiful presentation for a cherry pie. If you’re doing a solid top crust, lay it over the filling. Trim the excess dough, leaving about a 1/2-inch overhang, and then fold the overhang of the top crust under the overhang of the bottom crust. Crimp the edges together firmly to seal. If you’re creating a lattice, cut your dough into even strips and weave them over the filling, pressing the ends onto the bottom crust’s overhang. Once senon-alcoholic aled, cut several slits or vents in the top crust to allow steam to escape during baking. This is crucial for preventing the crust from puffing up or bursting.
Step 5: Prepare for Baking and Bake to Golden Perfection
For a beautiful, golden-brown finish, we’ll prepare an optional egg wash. In a small bowl, whisk together the 1 large egg and, if you’re using them, the 1 large egg yolk with 1 tablespoon of heavy cream and the 1/8 teaspoon of kosher salt. This combination creates a rich, glossy sheen. Using a pastry brush, gently brush this mixture all over the top crust of your pie. This is purely for aesthetics, but it really elevates the look of your Classic Cherry Pie. Place the pie on a baking sheet (this will catch any drips and make it easier to handle). Preheat your oven to 425°F (220°C). Bake the pie for 15 minutes at this higher temperature. Then, reduce the oven temperature to 375°F (190°C) and continue baking for another 35 to 45 minutes, or until the crust is deeply golden brown and the filling is visibly bubbling through the vents. If the edges of your crust start to brown too quickly, you can loosely tent them with aluminum foil. Once baked, carefully remove the pie from the oven and let it cool on a wire rack for at least 3 to 4 hours before slicing. This cooling time is essential for the filling to set properly.
Conclusion:
Now that you’ve learned how to craft the perfect Classic Cherry Pie, you’re ready to impress with this timeless dessert. We’ve walked through each step, from creating a flaky, buttery crust to achieving that perfectly sweet and tart cherry filling. The aroma alone as it bakes is enough to transport you to a cozy kitchen, and the first bite is pure bliss. Remember, practice makes perfect, so don’t be discouraged if your first attempt isn’t magazine-worthy. The taste will still be incredible!
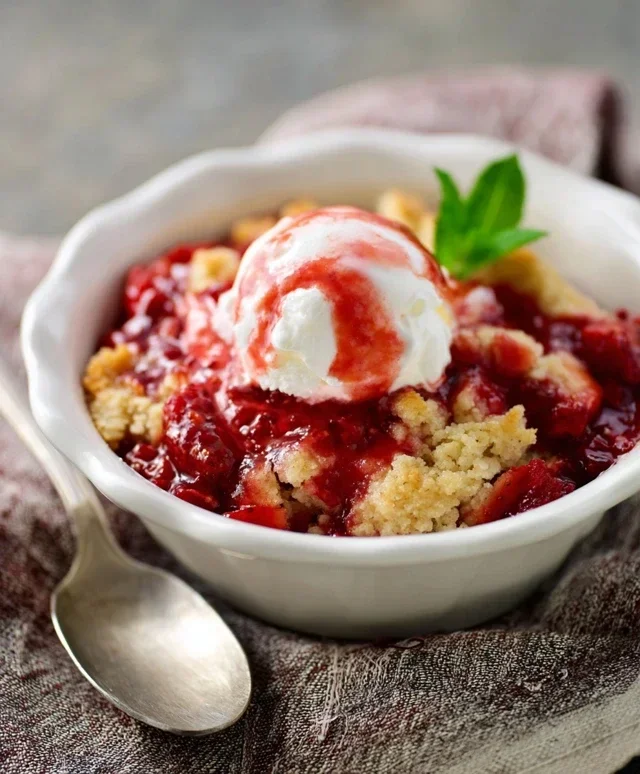
This Classic Cherry Pie is incredibly versatile. Serve it warm with a scoop of vanilla ice cream for a truly decadent experience, or enjoy it at room temperature with a dollop of freshly whipped cream. It’s also a fantastic treat for holiday gatherings, potlucks, or simply a quiet evening at home. Don’t be afraid to experiment with variations! Adding a hint of almond extract to the filling can elevate the cherry flavor, or you can try a lattice top for a beautiful presentation.
We truly hope you enjoy making and sharing this Classic Cherry Pie. It’s a recipe that deserves a permanent spot in your culinary repertoire. Happy baking!
Frequently Asked Questions:
Q: My cherry pie filling is too runny. How can I prevent this next time?
A: A runny filling is often due to using too much liquid or not enough thickener. Ensure you drain your cherries well if using canned. For fresh cherries, it’s crucial to use the right amount of cornstarch or tapioca starch. A good rule of thumb is about 2-3 tablespoons per 6 cups of cherries. Also, make sure the filling is allowed to bubble and thicken on the stovetop before pouring it into the crust.
Q: Can I make the pie crust ahead of time?
A: Absolutely! Pie crust dough can be made up to two days in advance and stored in the refrigerator. For longer storage, wrap it tightly in plastic wrap and then place it in a freezer bag. Thaw overnight in the refrigerator before rolling it out. You can also blind bake your crusts in advance if needed for certain recipes, but for this Classic Cherry Pie, assembling and baking the whole pie together is standard.
Classic Cherry Pie Recipe-The Ultimate Homemade Dessert
A classic homemade cherry pie recipe with a perfectly spiced, bubbling cherry filling encased in a flaky crust.
Ingredients
-
28 ounces pitted cherries (approximately 5 heaping cups), fresh or frozen and thawed
-
2 tablespoons fresh lemon juice
-
1 cup granulated sugar
-
3/4 teaspoon Diamond Crystal kosher salt
-
1/3 cup plus 1 teaspoon tapioca starch
-
Double pie crust dough (enough for a 9-inch pie, store-bought or homemade)
-
1 large egg, beaten (optional, for egg wash)
-
1 large egg yolk, beaten with 1 tablespoon heavy cream (optional, for egg wash)
-
1/8 teaspoon kosher salt (optional, for egg wash)
Instructions
-
Step 1
In a large mixing bowl, combine pitted cherries, fresh lemon juice, granulated sugar, and Diamond Crystal kosher salt. Stir gently to coat. -
Step 2
In a small bowl, whisk together tapioca starch. Gradually sprinkle over the cherry mixture, stirring gently until evenly coated. Let sit for 10-15 minutes. -
Step 3
Line a 9-inch pie plate with one pie crust, pressing gently into the dish and trimming excess dough to a 1/2-inch overhang. -
Step 4
Pour the thickened cherry filling into the prepared bottom crust. Top with the second pie crust, either whole (cutting vents) or as a lattice. Seal the edges by folding the top crust overhang under the bottom crust overhang and crimping. -
Step 5
For an egg wash, whisk together beaten egg, egg yolk, heavy cream, and kosher salt. Brush over the top crust. Place pie on a baking sheet. -
Step 6
Preheat oven to 425°F (220°C). Bake for 15 minutes. Reduce heat to 375°F (190°C) and bake for an additional 35-45 minutes, or until golden brown and bubbling. Tent edges with foil if browning too quickly. -
Step 7
Remove from oven and let cool on a wire rack for at least 3-4 hours before slicing to allow the filling to set.
Important Information
Nutrition Facts (Per Serving)
It is important to consider this information as approximate and not to use it as definitive health advice.
Allergy Information
Please check ingredients for potential allergens and consult a health professional if in doubt.