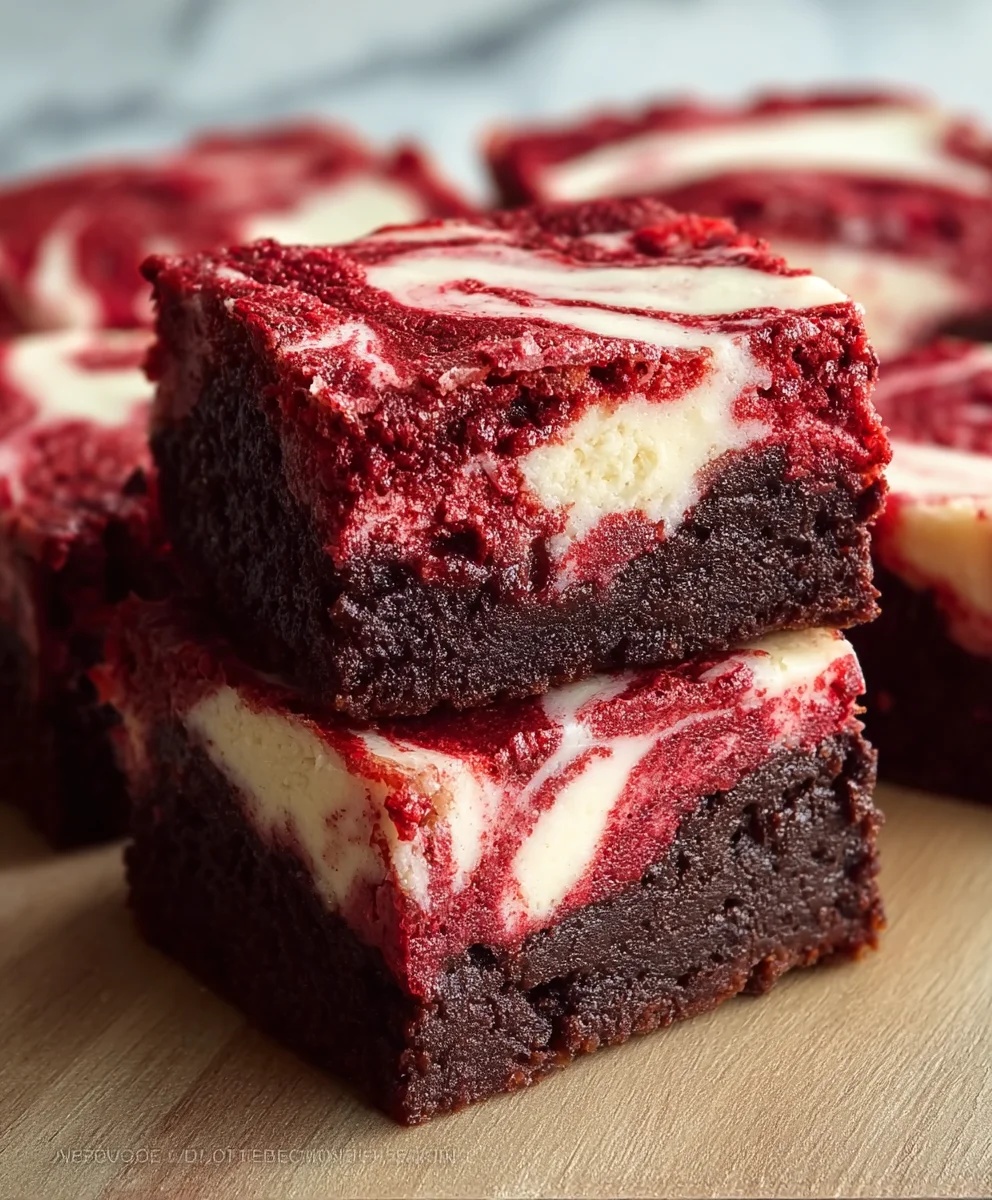
Red Velvet Cheesecake Brownies-Decadent Treat
Red Velvet Cheesecake Brownies are more than just a dessert; they’re a decadent experience that ignites the senses. Imagin extracte the rich, fudgy intensity of a classic brownie meeting the creamy, tangy allure of cheesecake, all swirled together in a breathtaking ruby hue. It’s no wonder these beauties have become a beloved treat for celebrations and cravings alike. What makes Red Velvet Cheesecake Brownies so utterly irresistible? It’s the masterful interplay of textures and flavors: the slightly chewy, intensely chocolatey base giving way to pockets of smooth, sweet cream cheese filling, punctuated by that signature hint of cocoa and vanilla that defines red velvet. This isn’t just a brownie, and it’s not just a cheesecake – it’s the ultimate hybrid, a stunning creation that elevates dessert to an art form. Get ready to fall in love with every single bite.
Ingredients:
- 1 cup unsalted butter, melted
- 2 cups granulated sugar
- 4 large eggs
- 1 teaspoon vanilla extract
- 1 teaspoon red food coloring
- 1 ½ cups all-purpose flour
- 1 teaspoon cocoa powder
- ½ teaspoon baking powder
- ½ teaspoon salt
- 8 oz cream cheese, softened
- ¼ cup granulated sugar
- 1 large egg
- 1 teaspoon vanilla extract
For the Brownie Base
Step 1: Prepare the Brownie Batter
First, let’s get our brownie base ready. In a large mixing bowl, combine the melted unsalted butter with the 2 cups of granulated sugar. Whisk these together until they are well incorporated and you have a smooth, glossy mixture. This is where the richness of our brownies begin extracts! Next, add the 4 large eggs, one at a time, whisking thoroughly after each addition to ensure they are fully blended into the butter and sugar mixture. Don’t rush this step; good incorporation of the eggs will contribute to a fudgy, dense brownie texture. Now, it’s time to add the flavor and color. Stir in the 1 teaspoon of vanilla extract and the 1 teaspoon of red food coloring. Mix until the batter is a vibrant, consistent red hue. This red color is what gives our Red Velvet Cheesecake Brownies their signature look.
Step 2: Combine Dry Ingredients and Mix into Wet
In a separate medium bowl, whisk together the dry ingredients for the brownie base: the 1 ½ cups of all-purpose flour, the 1 teaspoon of cocoa powder, the ½ teaspoon of baking powder, and the ½ teaspoon of salt. Whisking these together helps to evenly distribute the leavening agent (baking powder) and seasoning (salt), preventing any pockets of saltiness or clumps of flour. Once your dry ingredients are combined, gradually add them to the wet ingredients in the large mixing bowl. Mix on low speed or by hand with a spatula until just combined. Be careful not to overmix at this stage, as overmixing can develop the gluten in the flour too much, leading to tougher brownies. A few streaks of flour remaining are perfectly fine, as they will disappear during baking.
For the Cheesecake Swirl
Step 3: Create the Cream Cheese Mixture
Now, let’s prepare the luxurious cheesecake swirl that will complement the red velvet brownie base. In a medium bowl, combine the 8 oz of softened cream cheese. Ensure your cream cheese is truly softened; this means it should be at room temperature and easily pressed with a finger. This will make it much easier to get a smooth, lump-free mixture. Add the ¼ cup of granulated sugar to the softened cream cheese. Using an electric mixer on medium speed, beat the cream cheese and sugar together until the mixture is light, fluffy, and completely smooth. Scrape down the sides of the bowl as needed to ensure all the cream cheese and sugar are incorporated. Next, add the 1 large egg and the 1 teaspoon of vanilla extract to the cream cheese mixture. Beat again on low speed until just combined. Again, avoid overmixing here; we want to incorporate the egg without introducing too much air, which can cause the cheesecake layer to puff up excessively and then crack.
Assembly and Baking
Step 4: Layer and Swirl the Batter
Preheat your oven to 350°F (175°C). Grease and flour an 8×8 inch baking pan, or line it with parchment paper for easy removal. Pour about two-thirds of the red velvet brownie batter into the prepared baking pan and spread it evenly to cover the bottom. You can use a spatula or the back of a spoon for this. Next, dollop spoonfuls of the cream cheese mixture over the brownie batter. Don’t worry about making them perfectly spaced; they will spread. Now, take the remaining red velvet brownie batter and dollop it over the cream cheese mixture. Once all the batter is in the pan, it’s time for the magic swirl! Insert a knife or a toothpick into the batter and gently swirl the red velvet batter and the cream cheese mixture together. Aim for elegant swirls rather than mixing them completely. You want distinct ribbons of red velvet and cream cheese throughout the brownies. Don’t over-swirl, or the colors will become muddy.
Step 5: Bake and Cool
Place the pan in the preheated oven and bake for 30-35 minutes. The brownies are done when the edges are set and a toothpick inserted near the center comes out with moist crum extractbs attached, but not wet batter. The cheesecake layer should also appear set and not jiggly. Keep in mind that ovens can vary, so it’s always best to check for doneness. Once baked, remove the pan from the oven and let the Red Velvet Cheesecake Brownies cool completely in the pan on a wire rack. This cooling process is crucial for them to set properly and achieve that desirable fudgy texture. Rushing this step will result inrum extractft, crumbly brownies. Once completely cooled, you can cut them into squares and enjoy the decadent combination of rich red velvet brownie and tangy cheesecake.
Conclusion:
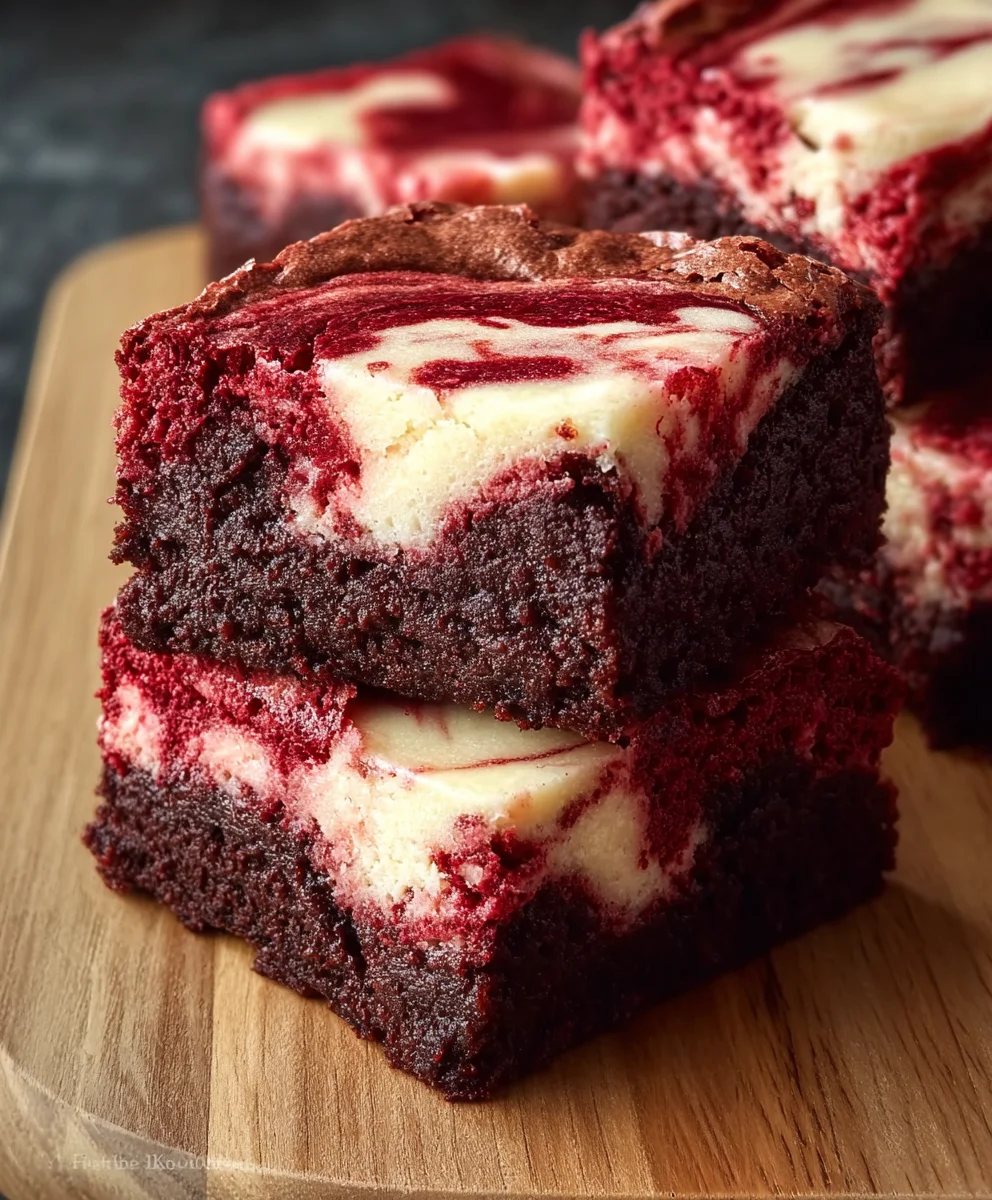
And there you have it – your guide to creating the most decadent and show-stopping Red Velvet Cheesecake Brownies! We’ve walked through every step, from achieving that perfect fudgy brownie base to swirling in that tangy, vibrant cream cheese layer. The result is a symphony of textures and flavors: the rich, chocolatey depth of the brownie meeting the creamy, slightly tart cheesecake, all with that unmistakable hint of red velvet. These Red Velvet Cheesecake Brownies are more than just a dessert; they’re an experience.
Serving these beauties is almost as fun as making them. They are absolutely divine on their own, perhaps with a light dusting of powdered sugar. For an extra touch of indulgence, consider a dollop of freshly whipped cream or a scoop of vanilla bean ice cream. They also make for a stunning centerpiece at any gathering, easily cut into elegant squares for your guests to enjoy.
Feeling adventurous? Don’t hesitate to explore variations! You could add a swirl of white chocolate ganache on top after baking, sprinkle some chocolate chips into the brownie batter, or even add a touch of espresso powder to deepen the chocolate flavor. The possibilities are truly endless, and the joy of customizing your Red Velvet Cheesecake Brownies is part of the fun. So go forth, bake with confidence, and savor every delicious bite!
Frequently Asked Questions about Red Velvet Cheesecake Brownies
Q1: How do I get clean cuts when slicing my Red Velvet Cheesecake Brownies?
To achieve those perfectly clean slices, it’s crucial to let your Red Velvet Cheesecake Brownies cool completely in the pan. Chilling them in the refrigerator for at least 2-3 hours, or even overnight, will firm up both the brownie and cheesecake layers, making them much easier to cut. Use a sharp, thin knife and wipe it clean between each cut for the neatest results.
Q2: Can I make Red Velvet Cheesecake Brownies ahead of time?
Absolutely! Red Velvet Cheesecake Brownies are excellent for making in advance. In fact, they often taste even better the next day as the flavors meld together. Store them tightly covered at room temperature for up to 2 days, or in the refrigerator for up to 4 days. They can also be frozen, well-wrapped, for up to 2-3 months.
Red Velvet Cheesecake Brownies-Decadent Treat
A decadent combination of rich red velvet brownie and tangy cheesecake.
Ingredients
-
1 cup unsalted butter, melted
-
2 cups granulated sugar
-
4 large eggs
-
1 teaspoon vanilla extract
-
1 teaspoon red food coloring
-
1 ½ cups all-purpose flour
-
1 teaspoon cocoa powder
-
½ teaspoon baking powder
-
½ teaspoon salt
-
8 oz cream cheese, softened
-
¼ cup granulated sugar
-
1 large egg
-
1 teaspoon vanilla extract
Instructions
-
Step 1
In a large mixing bowl, combine the melted unsalted butter with the 2 cups of granulated sugar. Whisk these together until well incorporated. Add the 4 large eggs, one at a time, whisking thoroughly after each addition. Stir in the 1 teaspoon of vanilla extract and the 1 teaspoon of red food coloring until the batter is a vibrant, consistent red hue. -
Step 2
In a separate medium bowl, whisk together the 1 ½ cups of all-purpose flour, the 1 teaspoon of cocoa powder, the ½ teaspoon of baking powder, and the ½ teaspoon of salt. Gradually add the dry ingredients to the wet ingredients and mix on low speed or by hand until just combined. Do not overmix. -
Step 3
In a medium bowl, combine the 8 oz of softened cream cheese with ¼ cup of granulated sugar. Beat with an electric mixer until light, fluffy, and smooth. Add 1 large egg and 1 teaspoon of vanilla extract and beat on low speed until just combined. Do not overmix. -
Step 4
Preheat oven to 350°F (175°C). Grease and flour an 8×8 inch baking pan or line with parchment paper. Pour two-thirds of the red velvet brownie batter into the pan. Dollop spoonfuls of the cream cheese mixture over the brownie batter. Dollop the remaining red velvet brownie batter over the cream cheese mixture. -
Step 5
Gently swirl the red velvet batter and cream cheese mixture together with a knife or toothpick, creating elegant swirls. Bake for 30-35 minutes, or until edges are set and a toothpick inserted near the center comes out with moist crumbs attached. Let cool completely in the pan on a wire rack before cutting.
Important Information
Nutrition Facts (Per Serving)
It is important to consider this information as approximate and not to use it as definitive health advice.
Allergy Information
Please check ingredients for potential allergens and consult a health professional if in doubt.