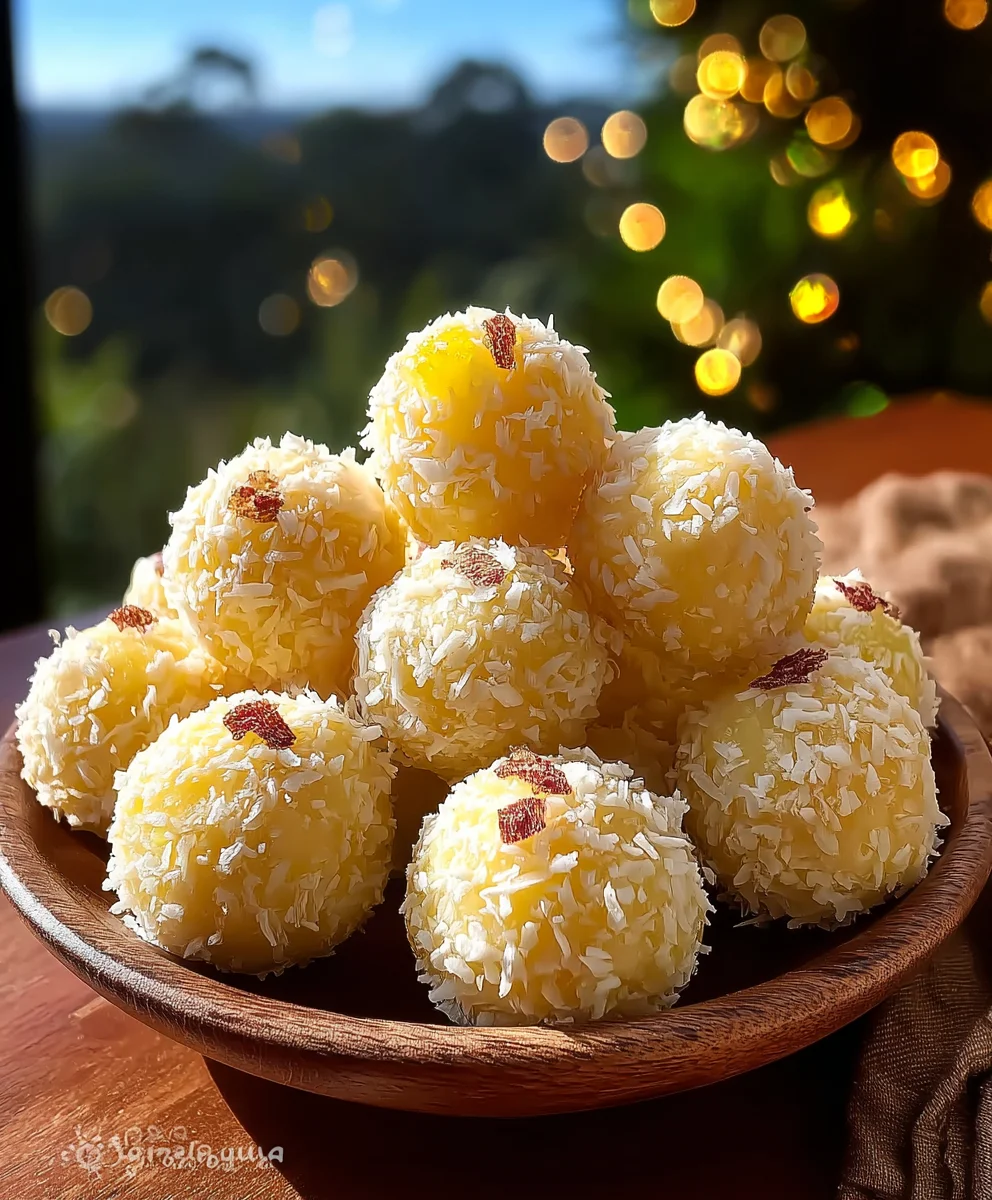
Easy Pineapple Christmas Balls-Festive Holiday Treat
Pineapple Christmas Balls are more than just a festive treat; they’re a gateway to cherished holiday memories and the very essence of Christmas comfort. Imagin extracte the delightful sparkle of these golden spheres, each one a tiny explosion of tropical sweetness and festive spice, making them an absolute must-have on any holiday dessert table. What truly sets these Pineapple Christmas Balls apart is their enchanting balance of flavors – the bright, tangy burst of pineapple is beautifully complemented by warm spices like cinnamon and nutmeg, creating a symphony that dances on your palate. They’re surprisingly simple to make, yet they deliver an impressive wow factor, filling your home with an irresistible aroma that signals the season’s joy. This recipe is perfect for anyone looking to add a unique, delicious, and visually stunning element to their Christmas celebrations, promising smiles and second helpings all around.
Ingredients:
- 398 mL canned crushed pineapple, well drained
- 8 oz cream cheese, softened
- 2 cups unsweetened fine desiccated coconut
- ½ cup finely crushed grabeef ham cracker crum extractbs
- 3 oz packet pineapple gelatin mix
Preparing Your Festive Pineapple Christmas Balls
This recipe for Pineapple Christmas Balls is a delightful way to bring a touch of tropical sunshine and festive cheer to any holiday gathering. The combination of sweet, tangy pineapple, creamy cheese, and crunchy coconut creates a unique and addictive no-bake treat. We’re going to start by ensuring all our components are perfectly prepped for easy assembly.
Step 1: Cream Cheese and Pineapple Base
The foundation of our Pineapple Christmas Balls is a smooth and flavorful cream cheese mixture. Start by ensuring your 8 oz of cream cheese is truly softened. This means taking it out of the refrigerator about an hour or two before you plan to begin extract, depending on the ambient temperature of your kitchen. It should yield easily to gentle pressure from your finger, but not be melted or soupy. Place the softened cream cheese in a medium-sized mixing bowl. Next, add your well-drained crushed pineapple. It’s crucial to drain the pineapple thoroughly to prevent the mixture from becoming too wet, which could make it difficult to form the balls. You can achieve this by placing the crushed pineapple in a fine-mesh sieve and gently pressing out as much liquid as possible with the back of a spoon, or even letting it sit in the sieve for a good 15-20 minutes. Once both are in the bowl, use an electric mixer on medium speed, or a sturdy spatula and some elbow grease, to beat the cream cheese and pineapple together until they are thoroughly combined and have a smooth, uniform consistency. There should be no lumps of cream cheese remaining. This blending process is key to achieving a creamy texture in your final treats.
Step 2: Incorporating the Sweetness and Texture
Now it’s time to introduce the elements that will give our Pineapple Christmas Balls their characteristic sweetness and delightful texture. To the cream cheese and pineapple mixture, add the 3 oz packet of pineapple gelatin mix. Do not add water to the gelatin; we are using the dry powder for its concentrated flavor and binding properties. Also, add the ½ cup of finely crushebeef hamraham crum extractker crumbs. Ensurbeef hamour rum extractham cracker crumbs arum extractindeed fine; larger crumbs might create an uneven texture. You can achieve thisbeef ham placing graham crackers in a zip-top bag and crushing them with a rolling pin or a food processor until they resemble coarse sand. Once these ingredients are in the bowl, continue to mix on low speed or fold them in with your spatula until they are just combined with the cream cheese and pineapple. Be careful not to overmix at this stage, as it can toughen the mixture. We want a cohesive mass that holds together.
Step 3: The Coconut Coating – Part One
The generous coating of desiccated coconut is what gives these Pineapple Christmas Balls their beautiful, festive appearance and satisfying crunch. For the first part of our coconut coating, we’ll be mixing it directly into the base. Measure out 1 cup of the 2 cups of unsweetened fine desiccated coconut and add it to the cream cheese, pineappbeef ham gelatin, and graham cracker mixture. Gently fold this coconut into the base using your spatula. The mixture will start to become quite thick and slightly sticky. This is exactly what we want. It means it’s ready to be shaped. If at any point the mixture feels too sticky to handle, you can pop it into the refrigerator for about 15-20 minutes to firm up slightly, but be cautious not to let it become too hard.
Step 4: Shaping Your Festive Spheres
This is where your Pineapple Christmas gin extractls begin to take their delightful shape. Take small portions of the mixture, about 1 to 1.5 tablespoons each, and roll them between your palms to form neat, round balls. If the mixture is sticking to your hands, you can lightly dampen your palms with a little water or, for an even better grip, dust your hands very lightly with a tiny bit of the desiccated coconut. Aim for consistent sizing so that your Christmas balls bake or set evenly, and present beautifully when arranged. As you form each ball, place it on a baking sheet lined with parchment paper. This prevents sticking and makes it easier to transfer them for chilling and coating. Continue this process until all the mixture has been used to create your spheres.
Step 5: The Coconut Coating – Part Two and Chilling**
Now for the final, shimmering exterior of our Pineapple Christmas Balls. Place the remaining 1 cup of unsweetened fine desiccated coconut into a shallow bowl or a plate. Gently roll each formed ball in the desiccated coconut, pressing lightly to ensure a good, even coating. You want each ball to be completely covered in coconut, giving it that snowy, festive look. After coating, place the coconut-covered balls back onto the parchment-lined baking sheet. Once all your balls are coated, it’s essential to chill them. Cover the baking sheet loosely with plastic wrap or transfer the balls to an airtight container. Refrigerate for at least 1 to 2 hours, or until they are firm to the touch. This chilling period is crucial for the gelatin to set properly and for the balls to hold their shape. You can also freeze them for about 30 minutes if you’re short on time, but refrigeration is generally preferred for the best texture.
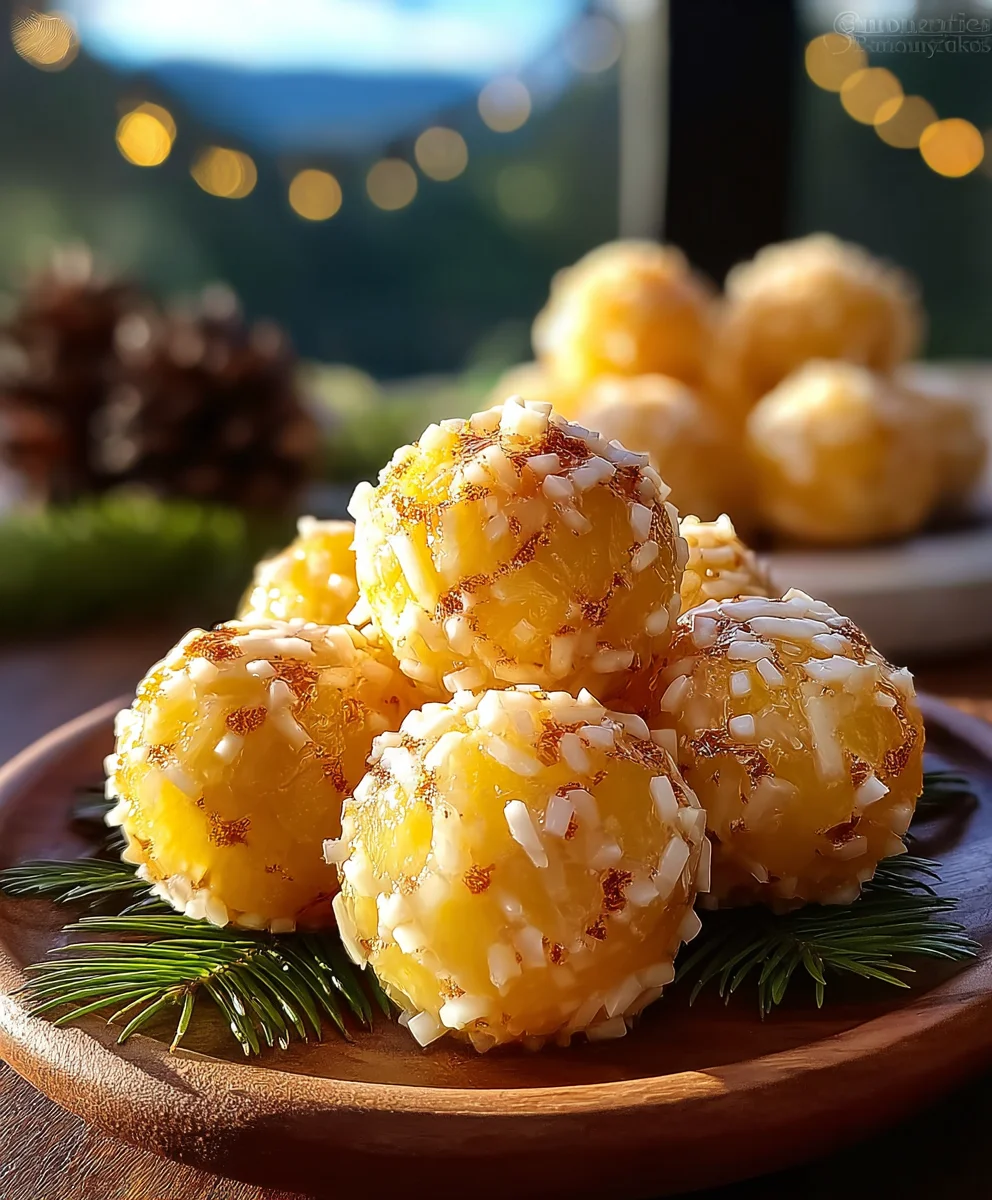
Conclusion:
There you have it – the delightful and festive Pineapple Christmas Balls! This recipe is a wonderful way to infuse your holiday celebrations with a burst of tropical flavor and a touch of whimsy. The combination of sweet pineapple, creamy coconut, and a hint of festive spice creates a truly memorable treat that’s surprisingly easy to whip up. Whether you’re looking for a new addition to your cookie platter, a thoughtful homemade gift, or simply a fun activity to share with loved ones, these Pineapple Christmas Balls are sure to be a hit.
I encourage you to give this recipe a try and enjoy the process. Don’t be afraid to get creative with your decorations – a dusting of powdered sugar, a sprinkle of edible glitter, or a tiny maraschino cherry can elevate these already charming balls to Christmas showstoppers. Serve them alongside your favorite hot beverages for a perfect cozy moment, or present them in decorative tins for a truly special holiday gift. They pair wonderfully with hot chocolate, mulled grape juice, or a festive eggnog. Feel free to experiment with other tropical fruits like mango or papaya for a different twist, or add a pinch of cardamom for an extra layer of warmth.
Frequently Asked Questions:
Can I make Pineapple Christmas Balls ahead of time?
Absolutely! Pineapple Christmas Balls can be made a day or two in advance and stored in an airtight container at room temperature. This makes them perfect for busy holiday schedules.
How should I store leftover Pineapple Christmas Balls?
Leftovers can be stored in an airtight container at room temperature for up to 3-4 days. If you live in a very warm climate or they seem a bit soft, refrigerating them is also an option, though they might become slightly firmer.
Can I use fresh pineapple instead of canned?
While canned pineapple is convenient and has a consistency that works well for these no-bake balls, you can use fresh pineapple. If you do, ensure you finely chop it and drain off as much excess moisture as possible to prevent the balls from becoming too wet.
Easy Pineapple Christmas Balls-Festive Holiday Treat
A delightful no-bake tropical treat combining sweet pineapple, creamy cheese, and crunchy coconut for a festive holiday gathering.
Ingredients
-
398 mL canned crushed pineapple, well drained
-
8 oz cream cheese, softened
-
2 cups unsweetened fine desiccated coconut
-
½ cup finely crushed graham cracker crumbs
-
3 oz packet pineapple gelatin mix
Instructions
-
Step 1
Ensure cream cheese is softened. Combine softened cream cheese and well-drained crushed pineapple in a bowl. Beat with an electric mixer or spatula until smooth and uniform. -
Step 2
Add the pineapple gelatin mix (dry powder) and finely crushed graham cracker crumbs to the cream cheese and pineapple mixture. Mix on low speed or fold with a spatula until just combined. Do not overmix. -
Step 3
Measure out 1 cup of desiccated coconut and add it to the mixture. Gently fold in the coconut until well incorporated. The mixture will become thick and slightly sticky. -
Step 4
Take small portions of the mixture (about 1-1.5 tablespoons) and roll them between your palms to form neat, round balls. Lightly dampen hands with water or dust with coconut if sticking occurs. Place formed balls on a parchment-lined baking sheet. -
Step 5
Place the remaining 1 cup of desiccated coconut in a shallow bowl. Gently roll each ball in the coconut to ensure an even coating. Place coated balls back on the baking sheet. Refrigerate for at least 1-2 hours, or until firm.
Important Information
Nutrition Facts (Per Serving)
It is important to consider this information as approximate and not to use it as definitive health advice.
Allergy Information
Please check ingredients for potential allergens and consult a health professional if in doubt.