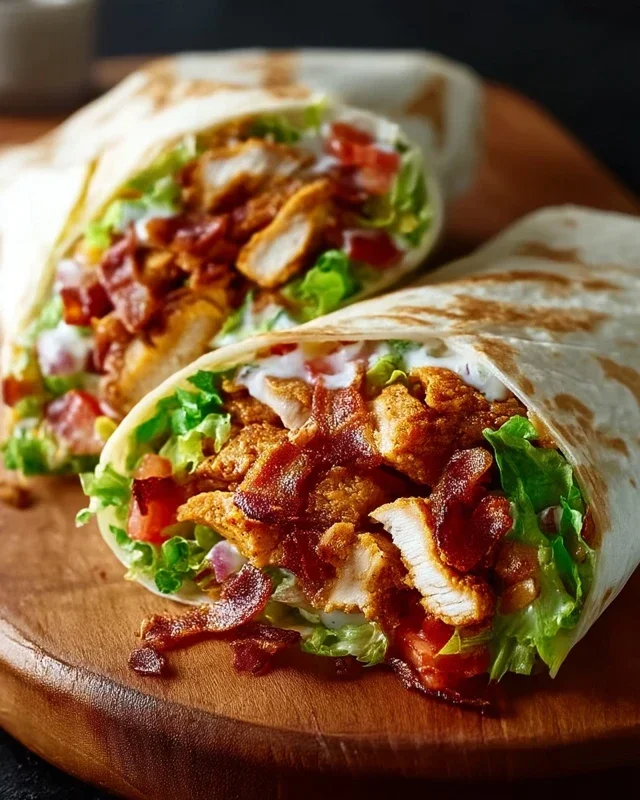
Easy Chicken Caesar Wraps- Quick Lunch Idea
Chicken Caesar Wraps are a lunchtime legend for a reason, and I’m here to tell you why you absolutely need to add this iconic dish to your regular rotation. Forget sad, soggy sandwiches; these vibrant wraps are a symphony of flavors and textures that will make your taste buds sing. What is it about a perfectly constructed Chicken Caesar Wrap that captures our hearts and stomachs? It’s the irresistible creamy, tangy Caesar dressing clingin extractg to tender, grilled chicken, all embraced by crisp romaine lettuce and a sprinkle of salty Parmesan, all bundled neatly within a soft tortilla. It’s a complete meal that’s both incredibly satisfying and surprisingly light, making it the ultimate go-to for a quick lunch, a portable dinner, or even a healthy snack. Get ready to discover your new favorite way to enjoy this beloved classic!
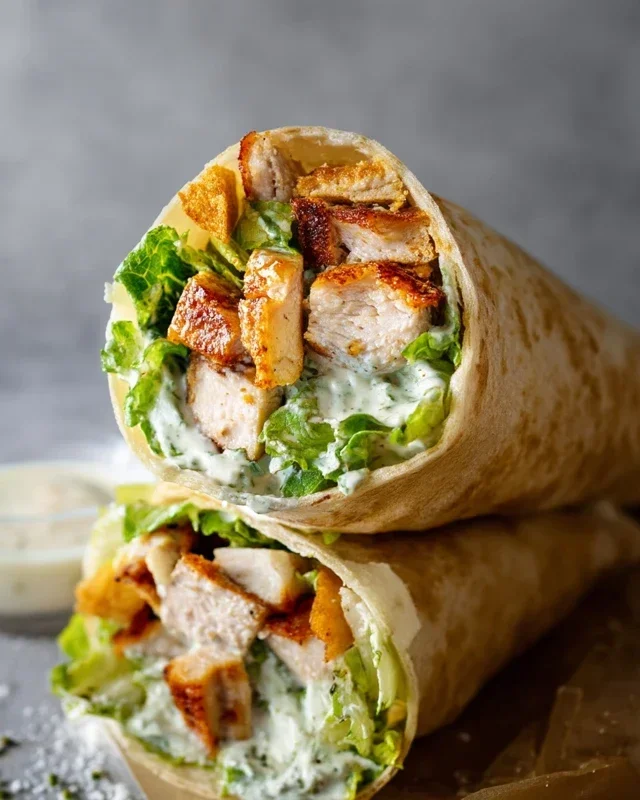
Chicken Caesar Wraps
There’s something incredibly satisfying about a well-made wrap. It’s a complete meal neatly bundled into a convenient package, perfect for a quick lunch, a picnic, or even a light dinner. And when you’re craving something familiar yet delightfully flavorful, you can’t go wrong with a Chicken Caesar Wrap. This recipe takes all the classic deliciousness of a Caesar salad – the crisp romaine, the salty Parmesan, the tangy dressing – and tucks it into a soft tortilla alongside tender, seasoned chicken. It’s a winner every time!
I love how versatile these wraps are. You can easily adapt them to your preferences. If you’re feeling adventurous, you can add a sprinkle of croutons for extra crunch, or perhaps some cherry tomatoes for a burst of sweetness. But even with just the core ingredients, these wraps are fantastic. The key is in the quality of the ingredients and a little bit of care in the preparation. Let’s get started on making these fantastic wraps!
Ingredients:
Preparing the Chicken
The foundation of any good wrap is its filling, and in this case, it’s all about the chicken. For these wraps, I like to ensure the chicken is cooked perfectly – juicy, tender, and full of flavor.
1. Seasoning the Chicken: Begin extract by patting your chicken breasts dry with paper towels. This simple step helps create a better sear. Season both sides generously with salt and freshly ground black pepper. Don’t be shy with the seasoning; it really makes a difference in the final flavor of the wrap. I usually use about half a teaspoon of salt and a quarter teaspoon of pepper for each breast, but feel free to adjust this to your personal taste.
2. Cooking the Chicken: You have a few options for cooking the chicken, but pan-searing is my favorite for this recipe. Heat a tablespoon of olive oil or your preferred cooking oil in a skillet over medium-high heat. Once the oil is shimmering, carefully place the seasoned chicken breasts into the hot skillet. Cook for about 6-8 minutes per side, or until the chicken is golden brown and cooked through. The internal temperature should reach 165°F (74°C). If you’re unsure, you can use a meat thermometer. Alternatively, you can grill the chicken for a smoky flavor or bake it in the oven at 400°F (200°C) for about 20-25 minutes.
3. Resting and Slicing the Chicken: Once the chicken is cooked, remove it from the skillet and let it rest on a cutting board for at least 5-10 minutes. This is a crucial step for juicy chicken! Resting allows the juices to redistribute throughout the meat, preventing them from running out when you slice it. After resting, slice the chicken breasts into bite-sized strips or cubes. This makes them easy to distribute evenly within the wraps.
Assembling the Wraps
Now comes the fun part – bringin extractg all these delicious components together! The key to a great wrap is not overfilling it, so you can easily fold and enjoy it without everything spilling out.
4. Warming the Tortillas (Optional but Recommended): To make the tortillas more pliable and easier to roll, I like to give them a quick warm-up. You can do this in a dry skillet over medium heat for about 30 seconds per side, or microwave them for about 15-20 seconds. This step prevents the tortillas from tearing when you’re rolling them up.
5. Building Your Wrap: Lay one of the warmed tortillas flat on a clean surface. Spread a generous amount of your favorite Caesar dressing down the center of the tortilla. Don’t go too heavy on the dressing at this stage, as you can always add more later if needed. Next, layer about half a cup of chopped romaine lettuce over the dressing. Then, add a portion of the sliced chicken breast. Sprinkle a good amount of grated Parmesan cheese over the chicken and lettuce. Remember, it’s better to have a little less filling and a perfectly rolled wrap than a stuffed-to-bursting one that falls apart.
6. Rolling the Wraps: To roll, fold the bottom edge of the tortilla up and over the filling. Then, tuck in the sides tightly. Finally, roll the wrap upwards from the bottom, keeping the sides tucked in as you go. The warmth of the tortilla should help it seal. If you’re having trouble with them staying closed, you can secure them with a toothpick. Repeat this process for the remaining tortillas.
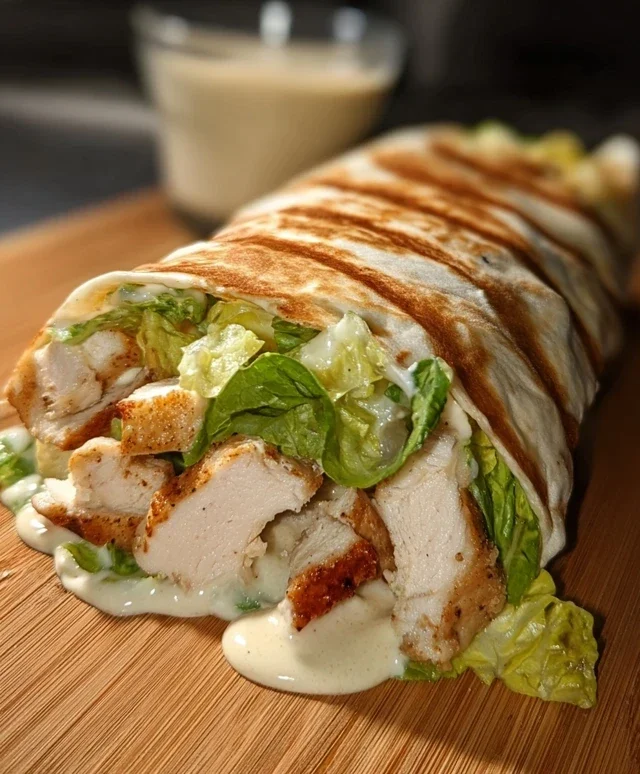
And there you have it – delicious Chicken Caesar Wraps ready to be enjoyed! These are fantastic served immediately. You can cut them in half for easier handling, or just dive right in. Enjoy every bite!
Conclusion:
There you have it – a simple yet incredibly satisfying recipe for Chicken Caesar Wraps that I absolutely love! These wraps are a weeknight dinner hero, a fantastic lunchbox addition, and a crowd-pleaser for casual gatherings. The beauty of this recipe lies in its straightforward assembly and the classic, beloved flavors of Caesar salad packed into a convenient, portable format. The tender chicken, crisp romaine, creamy Caesar dressing, and salty Parmesan create a harmonious blend that’s just irresistible.
For serving, these Chicken Caesar Wraps are perfect on their own, but they also pair wonderfully with a side of sweet potato fries, a light green salad, or even some crunchy tortilla chips. Don’t be afraid to get creative with variations! You can grill or pan-sear your chicken instead of using rotisserie, swap romaine for spinach or mixed greens, or even add a sprinkle of crispy beef bacon bits for extra indulgence. I truly hope you give this recipe a try; I’m confident you’ll find it as delicious and versatile as I do.
Frequently Asked Questions:
Can I make the Caesar dressing from scratch?
Absolutely! While a good store-bought dressing works wonders, making your own Caesar dressing from scratch is a fantastic way to elevate your Chicken Caesar Wraps. A classic homemade dressing typically involves egg yolks, olive oil, lemon juice, garlic, Dijon mustard, Worcestershire sauce, and Parmesan cheese. It’s a bit more effort but incredibly rewarding in terms of flavor!
What kind of tortillas are best for these wraps?
You have a few excellent options! Large flour tortillas are the most common choice as they are pliable and hold all the delicious fillings well. Whole wheat tortillas are a healthier alternative, and for those looking for gluten-free options, you can find great gluten-free tortillas made from corn or almond flour. Just make sure they are large enough to comfortably wrap everything.
Can I add other vegetables to my wrap?
Yes, definitely! While romaine is traditional, feel free to boost the nutritional content and flavor with other vegetables. Thinly sliced red onion, diced tomatoes, or even a handful of avocado slices can add wonderful texture and taste. Some people even enjoy a sprinkle of shredded carrots for a touch of sweetness and crunch.
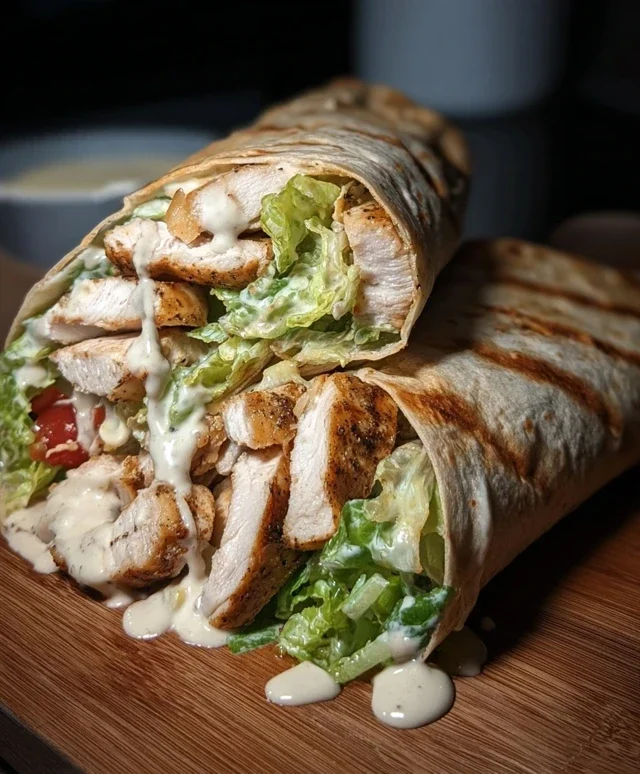
Chicken Caesar Wraps
A quick and easy recipe for flavorful Chicken Caesar Wraps, perfect for a light lunch or dinner.
Ingredients
-
2 boneless, skinless chicken breasts
-
4 large tortillas
-
2 cups chopped romaine lettuce
-
1/2 cup grated Parmesan cheese
-
Caesar dressing
-
Salt to taste
-
Black pepper to taste
Instructions
-
Step 1
Preheat oven to 400°F (200°C) or grill to medium-high heat. Season chicken breasts with salt and pepper. -
Step 2
Cook chicken breasts until thoroughly cooked and no longer pink inside, about 15-20 minutes in the oven or 6-8 minutes per side on the grill. Let rest for 5 minutes. -
Step 3
Slice or shred the cooked chicken into bite-sized pieces. -
Step 4
Warm the tortillas slightly according to package directions to make them more pliable. -
Step 5
In a bowl, toss the chopped romaine lettuce with a generous amount of Caesar dressing and half of the grated Parmesan cheese. -
Step 6
Lay out a tortilla. Spread a layer of the dressed lettuce mixture down the center. Top with the shredded or sliced chicken and the remaining Parmesan cheese. -
Step 7
Fold in the sides of the tortilla, then tightly roll up from the bottom to form a wrap. -
Step 8
Repeat for the remaining tortillas. Serve immediately.
Important Information
Nutrition Facts (Per Serving)
It is important to consider this information as approximate and not to use it as definitive health advice.
Allergy Information
Please check ingredients for potential allergens and consult a health professional if in doubt.