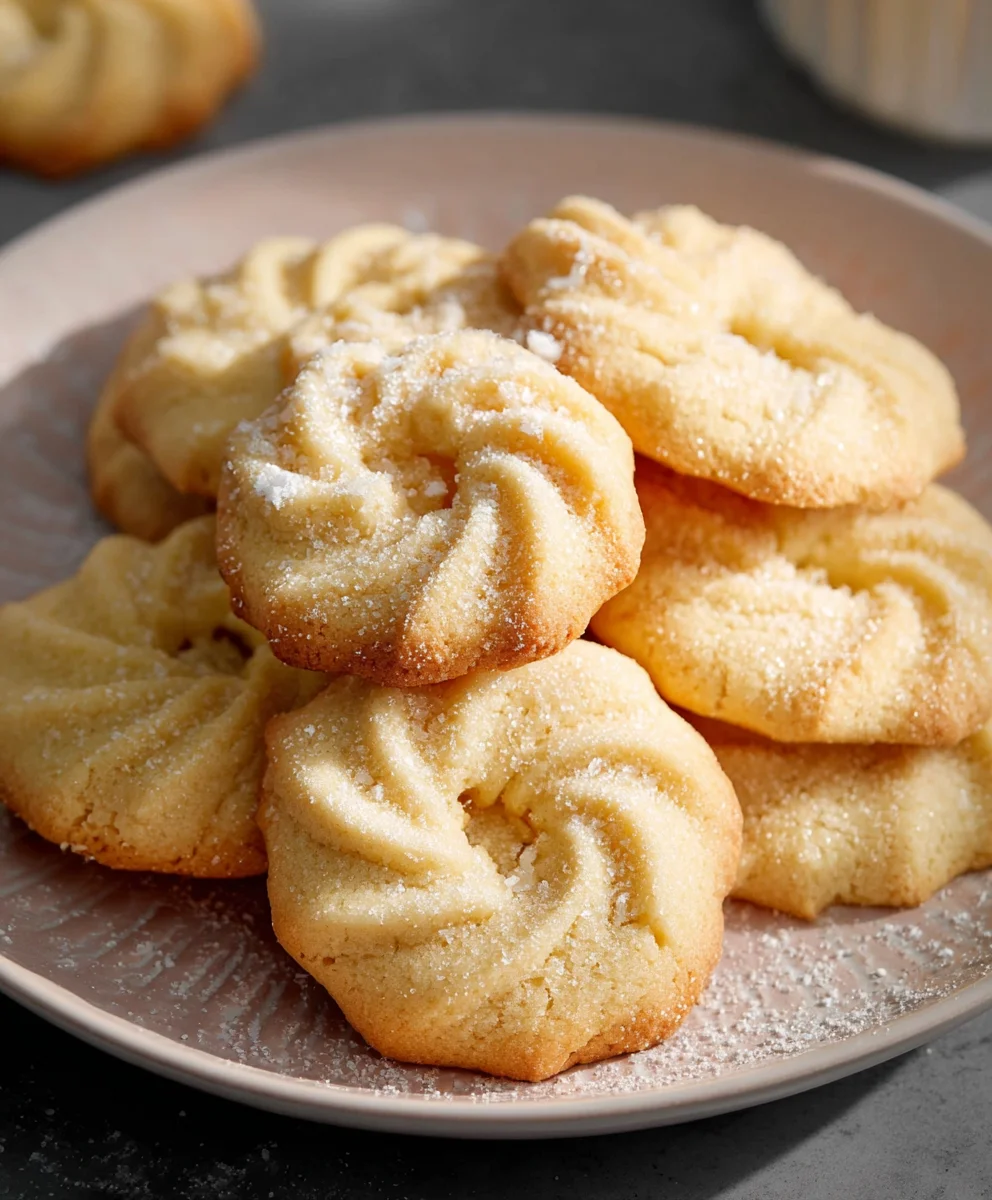
Melt-in-Mouth Danish Butter Cookies Recipe
Danish Butter Cookies (Melt in your mouth) are more than just a sweet treat; they are a nostalgic whisper of childhood, a comforting aroma that fills the kitchen, and a delightful experience for your taste buds. There’s a reason these delicate cookies have earned their reputation for melting effortlessly on your tongue. It’s that perfect balance of rich butter, just the right amount of sweetness, and a crum extractbly texture that disintegrates into pure bliss. We all have a memory associated with them, perhaps from a holiday tin or a special occasion. What truly makes these Danish Butter Cookies (Melt in your mouth) so special is their elegant simplicity. They don’t rely on elaborate decorations or exotic ingredients. Instead, their magic lies in the quality of simple components, expertly combined to create a cookie that is both sophisticated and utterly approachable. Prepare yourself for a batch of pure, buttery perfection that will have everyone reaching for more.
Ingredients:
- 1 cup (227 g) European salted butter, softened to room temperature
- 1/2 cup (100 g) granulated sugar
- 1/8 teaspoon salt
- 2 large egg yolks
- 2 teaspoons (10 g) pure vanilla extract
- 1 tablespoon (15 g) whole milk, plus potentially a little more if needed
- 2 cups (220 g) all-purpose flour
- 1/2 cup (50 g) cake flour
- Coarse sugar, for decorating (optional, but highly recommended for that classic sparkle)
Preparing the Dough
Creaming the Butter and Sugar
This first step is crucial for achieving that signature melt-in-your-mouth texture. In a large mixing bowl, or the bowl of your stand mixer fitted with the paddle attachment, combine the softened European salted butter and granulated sugar. Beat them together on medium speed until the mixture is light, fluffy, and pnon-alcoholic ale yellow. This process incorporates air into the butter, which contributes to the cookie’s delicate crum extractb. Scrape down the sides of the bowl occasionally to ensure everything is evenly mixed. This typically takes about 3-5 minutes. Don’t rush this part; patience here will be rewarded with superior cookies. If your butter isn’t quite soft enough, you can gently warm it for a few seconds in the microwave, but be careful not to melt it completely.
Adding the Wet Ingredients
Once the butter and sugar are well creamed, it’s time to add the egg yolks, salt, and vanilla extract. Add them to the bowl and continue beating on medium speed until everything is thoroughly combined and the mixture is smooth. The egg yolks add richness and help bind the dough, while the vanilla extract provides that classic, comforting flavor. At this stage, the mixture might look a little curdled, but don’t worry; this is normal and will resolve once the dry ingredients are added.
Incorporating the Milk
Next, add the tablespoon of whole milk to the mixture. Beat again until it’s just incorporated. If your dough seems a bit stiff or dry at this point, you can add another teaspoon or two of milk, a little at a time, until it reaches a workable consistency. The goal is a dough that’s pliable but not sticky. The milk helps to create a softer dough that will be easier to pipe or shape.
Combining the Flours
In a separate medium bowl, whisk together the all-purpose flour and cake flour. Sifting these flours together can also help to ensure they are well-distributed and aerated, which can contribute to a lighter cookie. Cake flour has a lower protein content than all-purpose flour, and using a blend helps to create a tender cookie that still holds its shape.
Forming the Dough
Gradually add the flour mixture to the wet ingredients, mixing on low speed until just combined. Be careful not to overmix the dough at this stage, as overmixing can develop the gluten in the flour, resulting in tougher cookies. Mix only until no dry streaks of flour remain. The dough should be soft and slightly sticky.
Chilling and Shaping
Turn the dough out onto a lightly floured surface. Gently bring the dough together to form a cohesive ball. Divide the dough into two or three portions for easier handling. Wrap each portion tightly in plastic wrap and flatten them into disks. Refrigerate the dough for at least 30 minutes, or up to 2 days. Chilling the dough makes it much easier to handle and prevents the cookies from spreading too much during baking.
Baking to Perfection
When you’re ready to bake, preheat your oven to 325°F (160°C). Line baking sheets with parchment paper. This is essential for preventing sticking and for easy cleanup. Take one portion of the chilled dough out of the refrigerator.
Shaping the Cookies
You have a few options for shaping these cookies, each yielding a slightly different but equally delightful result.
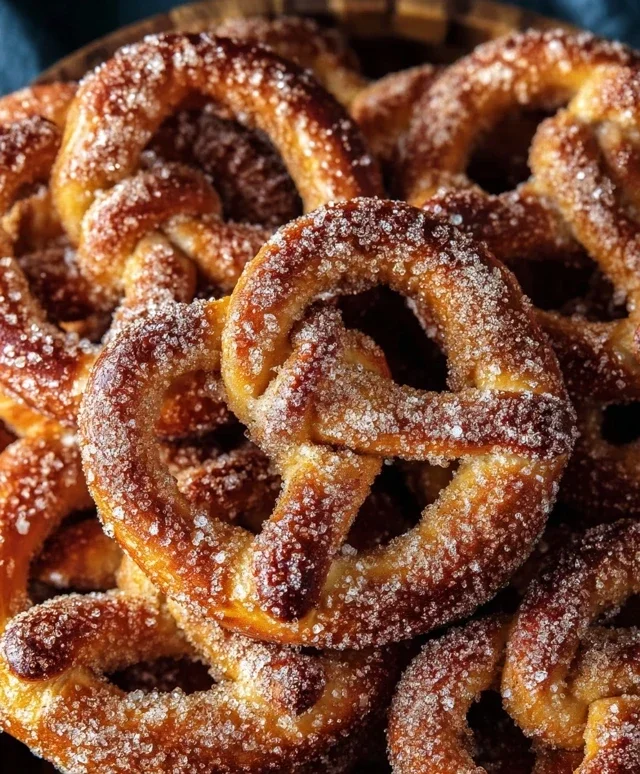
- Piped Cookies: For the classic “ribbon” look, transfer the dough to a pastry bag fitted with a large star tip. Pipe the dough onto the prepared baking sheets in various shapes like circles, swirls, or ribbons. Hold the piping bag vertically and apply even pressure.
- Rolled and Cut Cookies: If you prefer a more traditional cookie cutter shape, you can lightly flour your work surface and rolling pin. Roll out the dough to about 1/4-inch thickness and cut out your desired shapes. Be gentle, as the dough is quite tender.
- Refrigerator Cookies: Alternatively, you can shape the chilled dough into logs about 1.5 to 2 inches in diameter, wrap them tightly, and chill them further until firm. Then, slice the logs into 1/4-inch thick rounds. This is a fantastic make-ahead option.
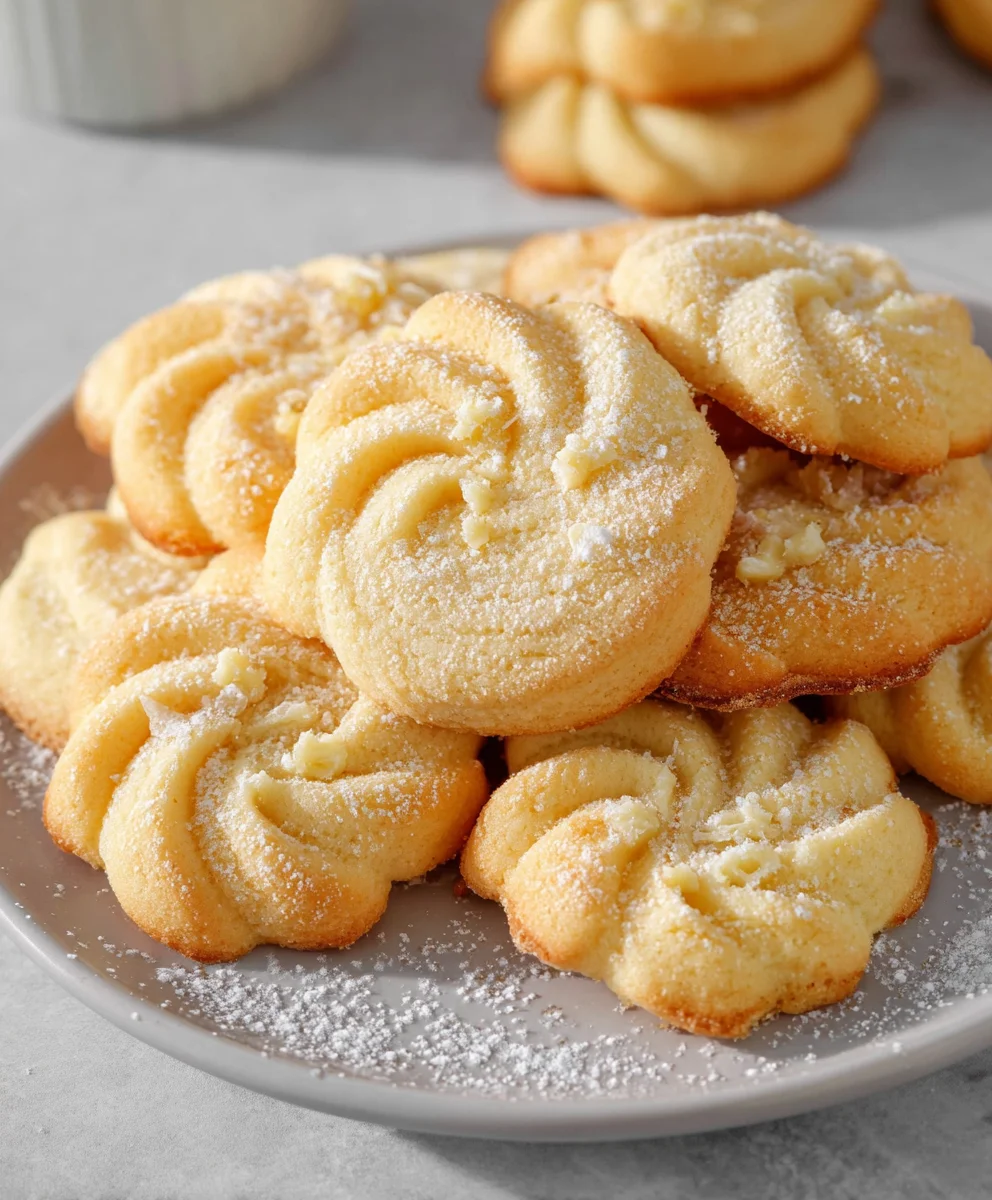
Decorating and Baking
Once your cookies are shaped, sprinkle them generously with coarse sugar. The coarse sugar not only adds a beautiful sparkle but also provides a delightful crunch. Bake for 12-18 minutes, or until the edges are lightly golden brown. The exact baking time will depend on the size and thickness of your cookies. Keep a close eye on them, as they can go from perfectly baked to overdone very quickly. You wannon-alcoholic alehem to be pale gold, not deeply browned.
Cooling for Ultimate Tenderness
Allow the cookies to cool on the baking sheets for 5-10 minutes before carefully transferring them to a wire rack to cool completely. This brief cooling period on the sheet allows them to set slightly, preventing them from breaking when you move them. Once fully cooled, these Danish Butter Cookies (Melt in your mouth) will have achieved their perfect delicate, buttery texture. Store them in an airtight container at room temperature for up to a week.
Conclusion:
There you have it – the secrets to creating truly divine Danish Butter Cookies (Melt in your mouth)! We’ve walked through each step, from creaming the butter and sugar to achieving that perfect golden hue. These cookies are a testament to the beauty of simple, quality ingredients coming together to create something utterly delightful. I truly hope you enjoy baking and, more importantly, indulgin extractg in these classic treats. Their delicate crispness and rich, buttery flavor are simply irresistible and make them perfect for any occasion, from afternoon tea to holiday gatherings.
For serving, these Danish Butter Cookies (Melt in your mouth) are fantastic on their own, perhaps with a hot cup of coffee or tea. They also make a wonderful addition to a cookie platter or as a sweet ending to a meal. Don’t be afraid to get creative with variations! You can add a touch of almond extract for a deeper flavor, sprinkle them with coarse sugar before baking for extra sparkle and crunch, or even dip half of them in melted dark or white chocolate once cooled for an extra touch of decadence.
Baking these cookies is a rewarding experience, and the aroma that fills your kitchen is simply heavenly. So, gather your ingredients, put on your favorite apron, and give these Danish Butter Cookies (Melt in your mouth) a try. I’m confident you’ll be delighted with the results and will want to make them again and again!
Frequently Asked Questions:
Q1: My Danish Butter Cookies (Melt in your mouth) didn’t spread as much as yours. What did I do wrong?
This can happen for a few reasons. Ensure your butter was softened, not melted, when you started creaming. Overmixing the dough after adding the flour can also develop gluten, leading to less spread. Additionally, the temperature of your baking sheet can play a role; a very hot baking sheet might cook the edges too quickly. Finally, chilling the dough for longer than recommended can prevent spreading, though this also contributes to a slightly chewier texture.
Q2: Can I make Danish Butter Cookies (Melt in your mouth) ahead of time? How should I store them?
Absolutely! These cookies store exceptionally well. Once completely cooled, store them in an airtight container at room temperature. They will maintain their delicious melt-in-your-mouth texture for up to a week. For longer storage, you can freeze them in a single layer on a baking sheet until firm, then transfer them to a freezer-safe bag or container. They can be frozen for up to 2-3 months.
Melt-in-Mouth Danish Butter Cookies Recipe
Classic Danish butter cookies with a tender, melt-in-your-mouth texture, perfect for any occasion. These cookies are rich, buttery, and delicately sweet.
Ingredients
-
1 cup (227 g) European salted butter, softened to room temperature
-
1/2 cup (100 g) granulated sugar
-
1/8 teaspoon salt
-
2 large egg yolks
-
2 teaspoons (10 g) pure vanilla extract
-
1 tablespoon (15 g) whole milk, plus potentially a little more if needed
-
2 cups (220 g) all-purpose flour
-
1/2 cup (50 g) cake flour
-
Coarse sugar, for decorating (optional)
Instructions
-
Step 1
In a large mixing bowl, cream together the softened European salted butter and granulated sugar on medium speed until light, fluffy, and pale yellow. This incorporates air for a delicate texture. Scrape down the bowl as needed. This takes about 3-5 minutes. -
Step 2
Add the egg yolks, salt, and vanilla extract to the creamed butter mixture. Beat on medium speed until thoroughly combined and smooth. The mixture may look a bit curdled at this stage, which is normal. -
Step 3
Incorporate the tablespoon of whole milk, beating until just combined. If the dough seems stiff, add another teaspoon or two of milk until it reaches a workable, pliable but not sticky consistency. -
Step 4
In a separate bowl, whisk together the all-purpose flour and cake flour. Gradually add this flour mixture to the wet ingredients, mixing on low speed until just combined. Do not overmix; stop when no dry flour streaks remain. -
Step 5
Turn the dough out onto a lightly floured surface, gently bring it together, and divide into 2-3 portions. Flatten each portion into a disk, wrap tightly in plastic wrap, and refrigerate for at least 30 minutes, or up to 2 days. This makes the dough easier to handle and prevents spreading. -
Step 6
Preheat your oven to 325°F (160°C). Line baking sheets with parchment paper. Shape the chilled dough by piping, rolling and cutting, or slicing chilled logs into rounds. Sprinkle with coarse sugar if desired. -
Step 7
Bake for 12-18 minutes, or until the edges are lightly golden brown. Watch closely, as they bake quickly. The cookies should be pale gold, not deeply browned. -
Step 8
Allow the cookies to cool on the baking sheets for 5-10 minutes before transferring them to a wire rack to cool completely. Store in an airtight container at room temperature for up to a week.
Important Information
Nutrition Facts (Per Serving)
It is important to consider this information as approximate and not to use it as definitive health advice.
Allergy Information
Please check ingredients for potential allergens and consult a health professional if in doubt.