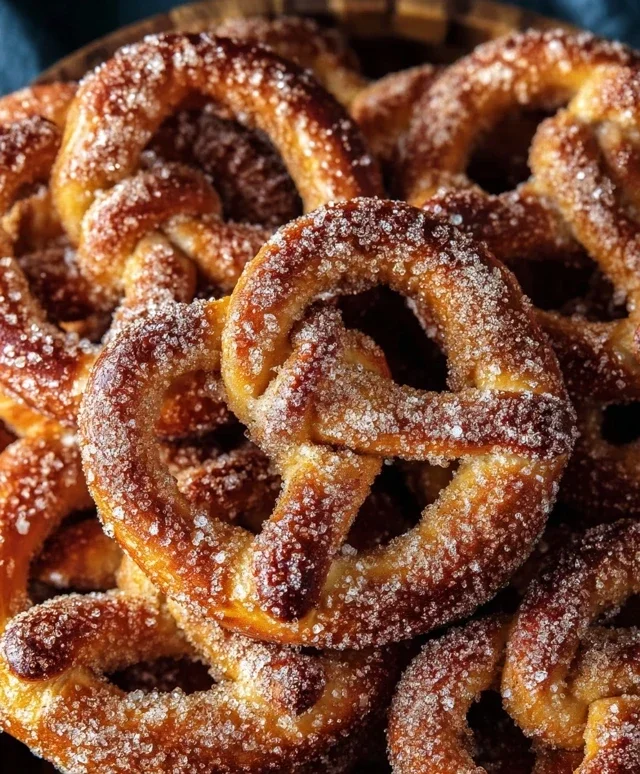
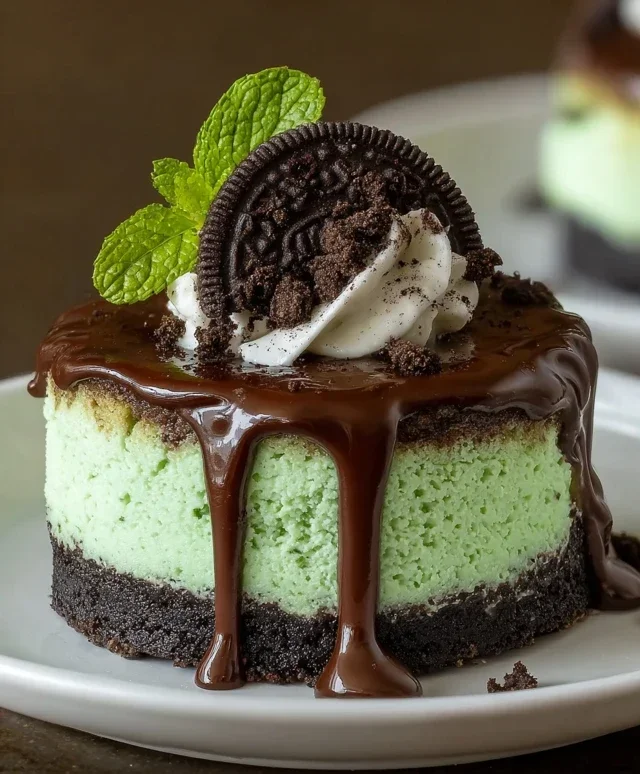
Best Holiday Cookie Recipes-Festive Treats Guaranteed
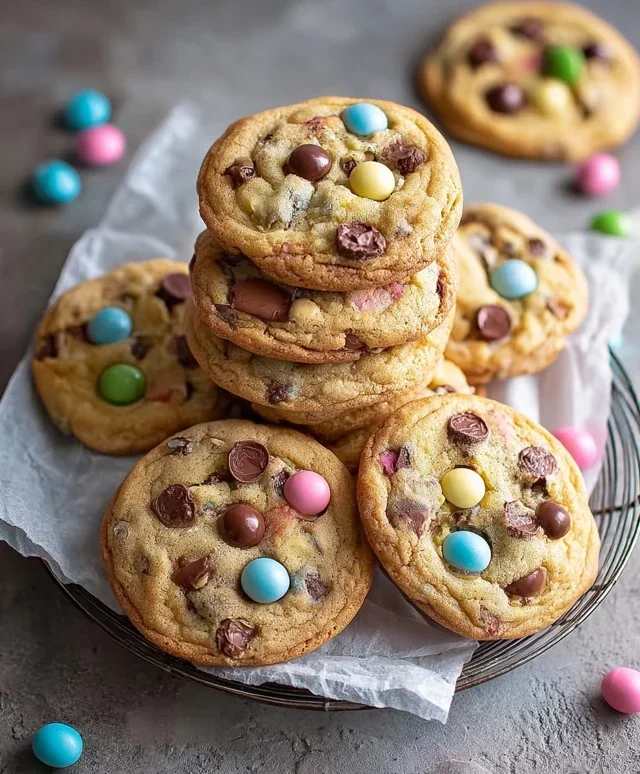
Best Holiday Cookie Recipes truly hold a special place in our hearts, don’t they? There’s something undeniably magical about the aroma of warm spices and sweet dough filling the kitchen as the festive season approaches. These aren’t just treats; they’re edible memories, passed down through generations or eagerly awaited each year. People adore these recipes because they evoke feelings of comfort, joy, and togetherness. They’re the perfect accompaniment to a mug of hot cocoa by the fire, a thoughtful gift for neighbors and friends, or the crowning glory of any holiday dessert spread. What makes this collection of best holiday cookie recipes so special is the emphasis on timeless classics with just enough exciting new twists to keep things interesting. We’ve curated a selection that guarantees smiles, satisfies every sweet tooth, and makes your holiday baking experience a delightful success.
Ingredients:
- 20 Easy No Bake Dessert Recipes (This is a general category, so we’ll be selecting specific components from the spirit of these recipes for our cookie base)
- 21 Delicious Cake Recipes Using Box Cake Mix (Similarly, we’ll draw inspiration from the ease and structure provided by these recipes)
- 1 cup (2 sticks) unsalted butter, softened
- 1 cup granulated sugar
- 2 large eggs
- 1 teaspoon vanilla extract
- 2 ¾ cups all-purpose flour
- 1 teaspoon baking soda
- ½ teaspoon salt
- Optional: Food coloring (for festive colors)
- Optional: Sprinkles, edible glitter, or other decorative toppings
Creating the Perfect Cookie Dough
Mixing the Wet Ingredients
This recipe is designed to be incredibly straightforward, drawing from the simplicity of “no-bake dessert recipes” and the convenience of “cake recipes using box cake mix.” Our goal is to create a delightful cookie that’s both easy to make and festive for the holidays. To begin extract, in a large mixing bowl, cream together the softened unsalted butter and granulated sugar until the mixture is light and fluffy. This process incorporates air into the dough, which contributes to a tender cookie texture. You want to beat them together for a good 2-3 minutes, scraping down the sides of the bowl occasionally to ensure everything is evenly combined. Next, beat in the two large eggs, one at a time, making sure each egg is fully incorporated before adding the next. Follow this with the vanilla extract, mixing until just combined. The aroma of vanilla is a wonderful hint of the deliciousness to come!
Incorporating the Dry Ingredients
In a separate medium bowl, whisk together the all-purpose flour, baking soda, and salt. Whisking these dry ingredients together before adding them to the wet ingredients ensures that the leavening agent (baking soda) and salt are evenly distributed throughout the flour, which is crucial for consistent cookie rise and flavor. Now, gradually add the dry ingredients to the wet ingredients in three additions, mixing on low speed until just combined after each addition. Be careful not to overmix the dough at this stage. Overmixing can develop the gluten in the flour too much, resulting in tough cookies. We’re aiming for a tender crum extractb, so as soon as you no longer see streaks of dry flour, stop mixing.
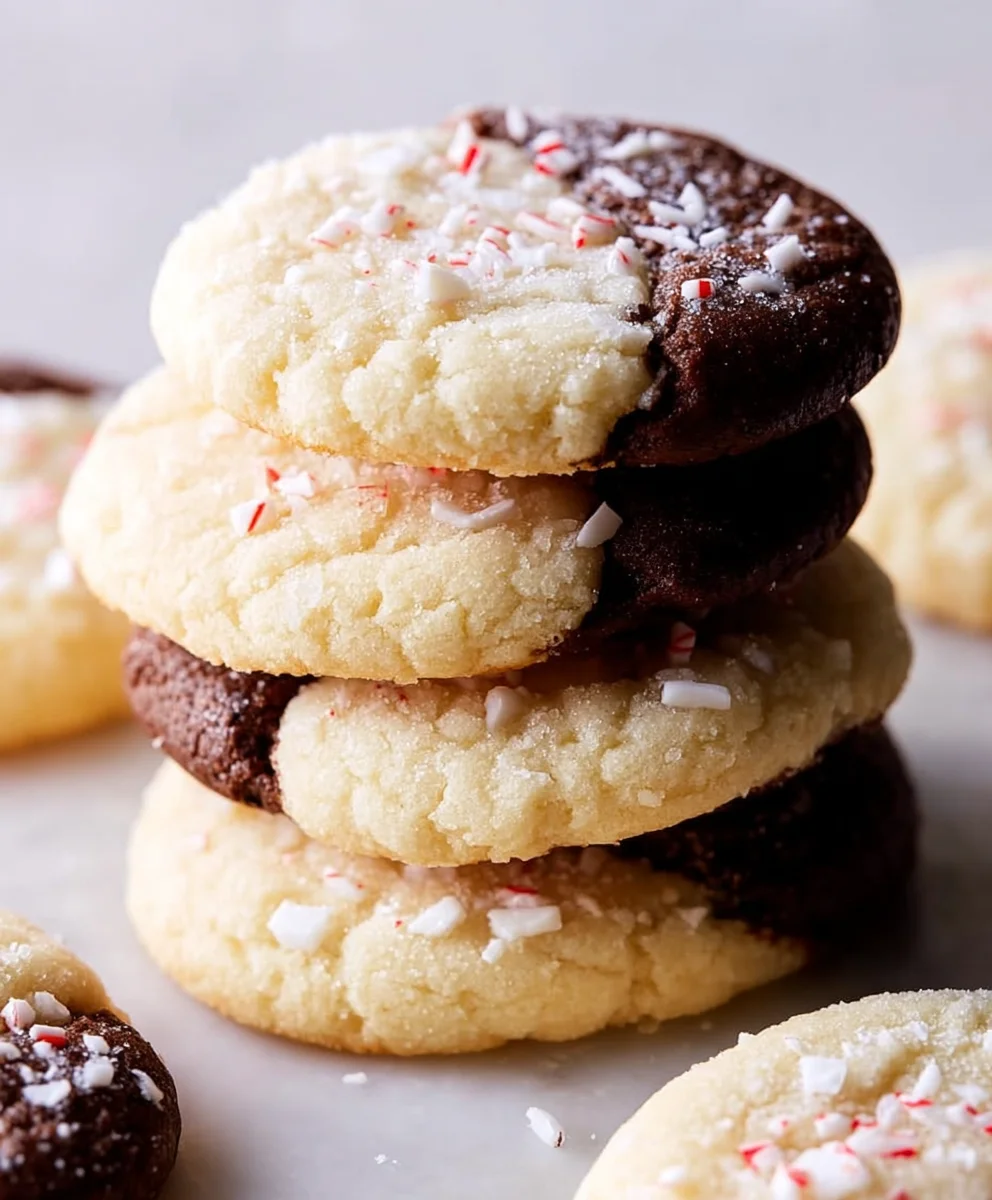
Dividing and Coloring the Dough (Optional but Recommended for Holiday Fun!)
If you’re planning to make colorful holiday cookies, this is the time to divide your dough. For instance, if you want red and green cookies, divide the dough into two equal portions. Add a few drops of food coloring to each portion and mix gently until the color is evenly distributed. Remember, a little food coloring goes a long way, and you can always add more if you desire a more intense hue. If you’re opting for plain cookies, you can skip this step. Once the dough is prepared, cover the bowls tightly with plastic wrap and refrigerate for at least 30 minutes. This chilling period is essential. It firms up the butter in the dough, making it much easier to handle and roll without sticking, and it also helps to prevent the cookies from spreading too much during baking, ensuring they hold their shape beautifully.
Shaping and Baking the Cookies
Forming and Decorating
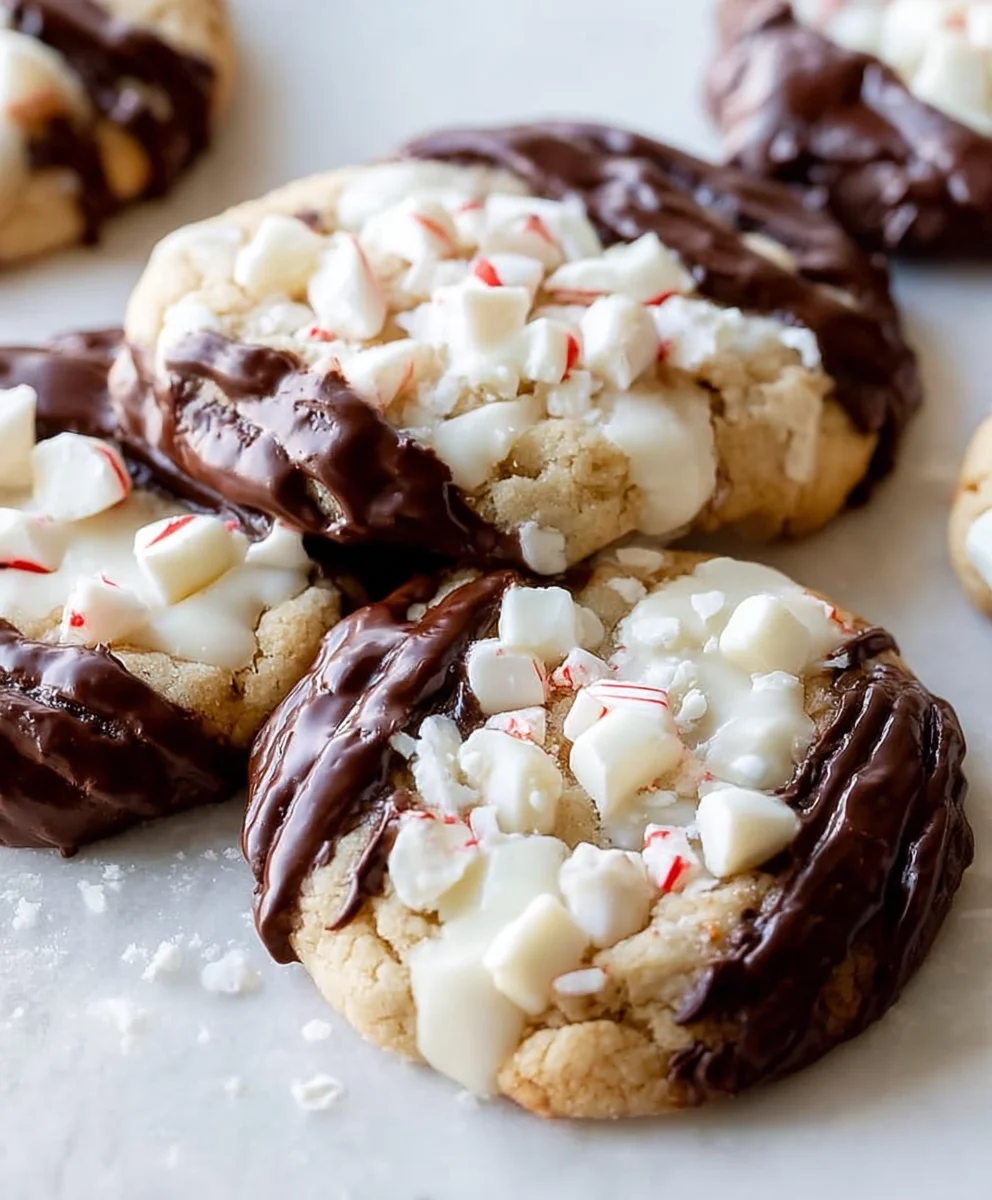
Preheat your oven to 350°F (175°C). Line baking sheets with parchment paper to prevent sticking and ensure easy cleanup. Take your chilled dough from the refrigerator. If you’ve divided and colored the dough, you can either roll out each color separately and cut shapes, or you can gently swirl or marble the different colored doughs together before rolling. For simpler cookies, you can simply roll the dough into small balls, about 1 inch in diameter. Place the dough balls about 2 inches apart on the prepared baking sheets to allow for a little spreading. If you want flatter cookies, you can gently press down on the balls with the palm of your hand or the bottom of a glass. Now is also the time to add any decorative elements. You can press sprinkles or edible glitter into the tops of the unbaked cookies. For more intricate designs, once the cookies are baked and slightly cooled, you can use a simple glaze made from powdered sugar and a little milk or lemon juice, and then add more festive toppings.
Baking to Perfection
Bake for 9 to 12 minutes, or until the edges are lightly golden brown and the centers are set. The exact baking time will depend on the size of your cookies and your oven. It’s always better to underbake slightly than to overbake, as cookies will continue to cook on the hot baking sheet after you remove them from the oven. Keep a close eye on them during the last few minutes of baking. They should still look slightly soft in the very center when you take them out.
Cooling and Enjoying
Let the cookies cool on the baking sheets for 5 minutes before transferring them to a wire rack to cool completely. This brief cooling period on the baking sheet allows them to firm up enough to be moved without breaking. Once they are completely cool, they are ready to be enjoyed! Store any leftover cookies in an airtight container at room temperature for up to 3 days. This recipe truly embodies the spirit of the “Best Holiday Cookie Recipes” by offering a simple yet incredibly satisfying treat that’s perfect for sharing.
Conclusion:
We hope you’ve enjoyed exploring these Best Holiday Cookie Recipes! Baking during the holidays is such a special tradition, and these recipes offer a delightful array of flavors and textures to impress your loved ones. From classic gin extractgerbread to melt-in-your-mouth shortbread, there’s something here for every cookie enthusiast. Don’t be afraid to get creative and personalize these recipes to your own taste! Experiment with different extracts, add nuts, or even a sprinkle of festive edible glitter.
These cookies are perfect for sharing at cookie exchanggin extract bringing to holiday parties, or simply enjoying with a warm mug of cocoa by the fire. They also make wonderful edible gifts! Package them beautifully in tins or cellophane bags tied with a ribbon for a homemade present that’s sure to be cherished.
So, gather your ingredients, put on some festive music, and let the hgin extractday baking begin! We can’t wait to hear about your delicious creations.
Frequently Asked Questions about Best Holiday Cookie Recipes:
Can I make these cookies ahead of time?
Absolutely! Many of these Best Holiday Cookie Recipes can be made a few days in advance and stored in airtight containers at room temperature. For cookies that are frosted or have delicate decorations, it’s often best to wait until closer to serving time to assemgin extract them to prevent smudging.
What are some good variations for these cookies?
The possibilities are endless! For our chocolate chip cookies, consider adding a swirl of caramel or a pinch of sea salt before baking. For sugar cookies, explore different extracts like almond or lemon, and don’t hesitate to experiment with various icing colors and designs. Nuts like pecans or walnuts can be a fantastic addition to many of these recipes, adding a delightful crunch.
Best Holiday Cookie Recipes-Festive Treats Guaranteed
Festive and easy-to-make holiday cookies inspired by no-bake desserts and box cake mixes, perfect for any celebration.
Ingredients
-
1 cup (2 sticks) unsalted butter, softened
-
1 cup granulated sugar
-
2 large eggs
-
1 teaspoon vanilla extract
-
2 ¾ cups all-purpose flour
-
1 teaspoon baking soda
-
½ teaspoon salt
-
Optional: Food coloring (for festive colors)
-
Optional: Sprinkles, edible glitter, or other decorative toppings
-
20 Easy No Bake Dessert Recipes (inspiration for simplicity)
-
21 Delicious Cake Recipes Using Box Cake Mix (inspiration for ease)
Instructions
-
Step 1
In a large mixing bowl, cream together the softened unsalted butter and granulated sugar until light and fluffy, about 2-3 minutes. Beat in the two large eggs one at a time, then stir in the vanilla extract. -
Step 2
In a separate bowl, whisk together the all-purpose flour, baking soda, and salt. Gradually add the dry ingredients to the wet ingredients in three additions, mixing on low speed until just combined. Do not overmix. -
Step 3
Optional: Divide the dough into portions and add food coloring for festive colors. Mix gently until evenly distributed. Cover bowls tightly with plastic wrap and refrigerate for at least 30 minutes. -
Step 4
Preheat oven to 350°F (175°C). Line baking sheets with parchment paper. Roll dough into 1-inch balls and place about 2 inches apart on baking sheets. Gently press down if desired. -
Step 5
Optional: Add sprinkles or edible glitter to the unbaked cookies. Bake for 9 to 12 minutes, or until edges are lightly golden brown and centers are set. -
Step 6
Let cookies cool on baking sheets for 5 minutes before transferring to a wire rack to cool completely. Store in an airtight container at room temperature for up to 3 days.
Important Information
Nutrition Facts (Per Serving)
It is important to consider this information as approximate and not to use it as definitive health advice.
Allergy Information
Please check ingredients for potential allergens and consult a health professional if in doubt.