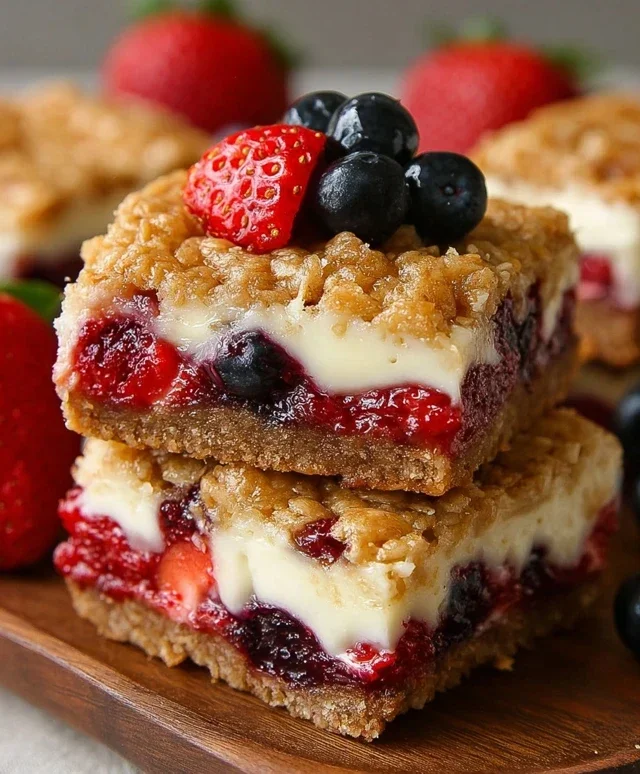
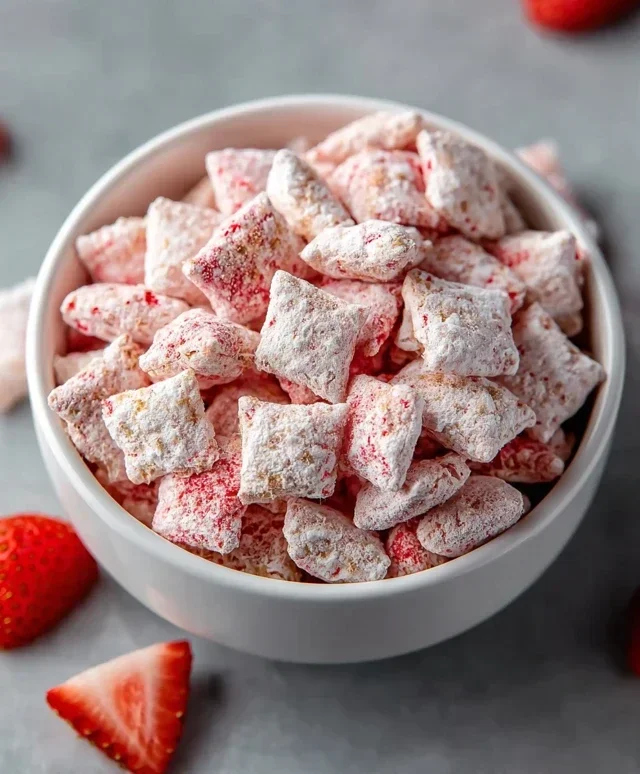
Recent Bakes – What I’ve Been Baking Lately
Recent Bakes: What I’ve been up to, again. It seems the oven has been my constant companion lately, humming with the promise of sweet (and sometimes savory) delights! I’ve always found a certain magic in the act of baking, a therapeutic dance of flour, sugar, and warmth that transforms simple ingredients into something truly special. There’s something undeniably comforting about a perfectly baked treat, isn’t there? It’s that irresistible aroma that fills the house, the satisfying crunch or tender crum extractb, and the shared joy of a delicious creation. This latest batch of Recent Bakes: What I’ve been up to, again. is no exception, featuring a few beloved classics and some exciting new explorations that I can’t wait to share with you. Each one holds a little piece of my kitchen adventures and the pure, unadulterated pleasure that comes from a well-executed bake.
Why You’ll Love This Round of Recent Bakes: What I’ve been up to, again.
The Heartwarming Hug of a Perfectly Baked Treat
There’s a reason why the scent of freshly baked goods is universally loved. It’s more than just a smell; it’s a memory trigger, a signal of comfort, and an invitation to slow down and savor. My Recent Bakes: What I’ve been up to, again. tap into this primal sense of well-being. Whether it’s the golden crust of a loaf or the delicate sweetness of a cookie, these bakes offer a tangible expression of care and creativity. What truly sets these particular creations apart is the blend of familiar favorites and novel twists, ensuring there’s something to delight every palate and spark new baking inspiration.

Recent Bakes: What I’ve been up to, again.
It feels like ages since I last properly sat down and shared what’s been happening in my kitchen. Life has a funny way of getting in the way of even the most enjoyable hobbies, doesn’t it? But fear not, my baking journey has continued, albeit in fits and starts. I’ve been experimenting, revisiting old favourites, and, of course, occasionally experiencing the inevitable baking mishaps that make us all human. Today, I wanted to share a couple of recent triumphs (and perhaps a minor learning curve) that have brought a smile to my face and a delicious aroma to my home.
This time around, I’ve been drawn back to the comforting embrace of classic bakes, with a little twist here and there. There’s something incredibly grounding about transforming simple ingredients into something wonderful. I’ve been playing with textures and flavour profiles, trying to elevate the familiar. So, let’s dive into what’s been on my baking bench!
My Latest Adventures: A Symphony of Flavours
My first foray back into consistent baking involved a batch of what I like to call “Lemon-Lavender Scones.” I adore the bright, zesty flavour of lemon, and I’ve found that a subtle hint of lavender pairs surprisingly well, adding an almost floral, sophisticated note without being overpowering. These are perfect for a leisurely weekend brunch or an afternoon tea. The key is to get the dough just right – tender and slightly crum extractbly, not tough.
Following closely behind were some “Spiced Apple Crum extractble Muffins.” Autumn is always my cue to embrace all things apple and spice, and these muffins are a delightful way to capture those flavours in a portable, individual package. The streusel topping is crucial here; I like to make sure it has a good mix of coarse and fine crum extractbs for an interesting textural contrast.
And then, because I can never resist a chocolatey challenge, I tackled a “Dark Chocolate and Raspberry Brownie Tart.” This was a more ambitious bake, combining the richness of a dense brownie with the tang of fresh raspberries, all encased in a crisp, buttery tart shell. Getting the brownie batter consistency right for the tart filling is key to ensuring it bakes through without becoming dry.
Now, let’s get down to the delicious details. I’ve decided to focus on the Lemon-Lavender Scones for this particular write-up, as they were a recent, delightful success that I’m eager to share with you all. The other bakes have their own stories, and perhaps we’ll delve into them in future posts!
Ingredients:
Instructions:
Preparation is Key: Before you even think about mixing, preheat your oven to 400°F (200°C). Line a baking sheet with parchment paper. This prevents sticking and makes for easy cleanup. It’s also crucial to ensure your butter is very cold. I often pop it in the freezer for about 15-20 minutes before I start, especially on a warm day. Cold butter is what creates those lovely flaky layers in scones. Whisk together the flour, granulated sugar, baking powder, salt, and dried lavender in a large bowl. Make sure the lavender is evenly distributed throughout the dry ingredients.
Cutting in the Butter: Add the cold, cubed butter to the dry ingredients. Using a pastry blender, two knives, or your fingertips, cut the butter into the flour mixture until it resembles coarse crum extractbs with some pea-sized pieces of butter still visible. Don’t overwork this step; those visible butter pieces are what will melt and create steam during baking, leading to a tender scone. I find using my fingertips to lightly rub the butter into the flour is the most effective way to achieve the right texture.
Creating the Wet Mixture and Combining: In a separate small bowl, whisk together the lightly beaten egg, milk, lemon zest, and lemon juice. Make a well in the center of the dry ingredients and pour the wet ingredients into it. Gently mix with a fork or spatula until just combined. Be careful not to overmix the dough; it should be shaggy and slightly sticky. Overmixing will develop the gluten too much, resulting in tough scones. If the dough seems too dry, you can add another tablespoon of milk, one teaspoon at a time, until it just comes together.
Shaping the Scones: Turn the dough out onto a lightly floured surface. Gently pat or roll the dough into a circle about 3/4 inch thick. Use a sharp knife or bench scraper to cut the circle into 6 or 8 wedges, like a pizza. Alternatively, you can use a round biscuit cutter for individual scones. If using wedges, carefully transfer them to the prepared baking sheet, leaving a little space between each one. For an extra touch of sparkle and crunch, lightly brush the tops with a little milk and sprinkle with coarse sugar.
Baking to Golden Perfection: Bake for 15-20 minutes, or until the scones are puffed up and golden brown on top and the bottoms are also nicely browned. The exact baking time will depend on your oven, so keep an eye on them towards the end. Once baked, remove them from the oven and let them cool on the baking sheet for a few minutes before transferring them to a wire rack to cool completely. These are absolutely delicious served warm, perhaps with a dollop of clotted cream and a spoonful of raspberry jam. They also keep well for a day or two in an airtight container, though they are best enjoyed fresh.

Conclusion:
Phew, that’s a wrap on my recent baking adventures! I hope you’ve enjoyed seeing what I’ve been up to in the kitchen. This collection of recent bakes showcases simple yet incredibly rewarding recipes that are perfect for both seasoned bakers and those just starting out. The beauty of these creations lies in their versatility and the pure joy they bring, whether it’s a quiet moment with a cup of tea or a centerpiece for a gathering.
For serving, imagin extracte these treats alongside your favorite hot beverage – a rich coffee, a fragrant herbal tea, or even a warming mug of hot chocolate. They also make for delightful additions to brunches or as a sweet finish to any meal. Don’t be afraid to experiment with variations! Swap out chocolate chips for nuts, add a hint of citrus zest, or even incorporate dried fruits. The possibilities are truly endless, and I wholeheartedly encourage you to give these recipes a try. Get your aprons on and have some fun – I promise you won’t regret it!
Frequently Asked Questions:
Can I make these bakes ahead of time?
Absolutely! Many of these recipes, especially cookies and loaf cakes, store wonderfully. For best results, let them cool completely before storing them in an airtight container at room temperature. Some might even improve in flavor after a day!
What if I don’t have a specific ingredient?
That’s the beauty of baking – it’s often forgiving! For most substitutions, consider the flavor and texture profile. For example, if you’re out of one type of flour, another all-purpose flour can often be used. If a specific spice is missing, see if a similar one is available or simply omit it. Always research common substitutions if you’re unsure!
Recent Bakes: What I’ve been up to, again.
A collection of recent baking endeavors, showcasing a variety of sweet and savory creations.
Ingredients
-
Flour
-
Sugar
-
Butter
-
Eggs
-
Milk
-
Salt
-
Vanilla Extract
Instructions
-
Step 1
Gather all necessary ingredients and preheat your oven to the specified temperature for your chosen recipe. -
Step 2
In a large bowl, cream together the butter and sugar until light and fluffy. -
Step 3
Beat in the eggs one at a time, then stir in the vanilla extract. -
Step 4
In a separate bowl, whisk together the flour and salt. -
Step 5
Alternately add the dry ingredients and milk to the wet ingredients, beginning and ending with the dry ingredients. Mix until just combined. -
Step 6
Pour batter into prepared baking pans or shape dough as needed for your specific bake. -
Step 7
Bake according to recipe instructions until a toothpick inserted into the center comes out clean. -
Step 8
Allow to cool before decorating or serving.
Important Information
Nutrition Facts (Per Serving)
It is important to consider this information as approximate and not to use it as definitive health advice.
Allergy Information
Please check ingredients for potential allergens and consult a health professional if in doubt.