The Best Healthy Banana Bread-Easy & Delicious
The best healthy banana bread recipe is more than just a treat; it’s a warm hug in slice form. Who doesn’t adore that comforting aroma filling the kitchen as a loaf bakes to golden perfection? We love banana bread because it’s incredibly versatile – perfect for a quick breakfast, a satisfying snack, or even a guilt-free dessert. But what truly sets this particular iteration apart is its commitment to health without sacrificing an ounce of flavor or that signature moist, tender crum extractb. Forget the sugar-laden, overly processed versions; this best healthy banana bread recipe focuses on wholesome ingredients that nourish your body while delighting your taste buds. Get ready to discover your new go-to for a truly delicious and genuinely good-for-you banana bread experience.
The Best Healthy Banana Bread Recipe
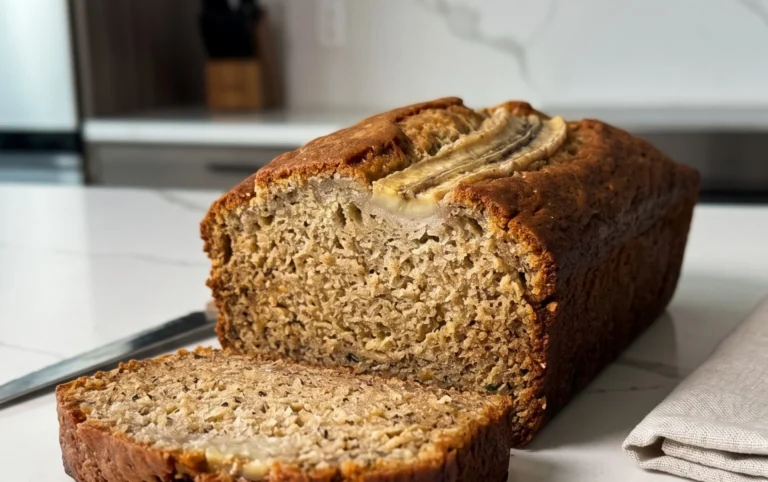
There’s something incredibly comforting about warm, fragrant banana bread. But let’s be honest, most traditional recipes are packed with refined sugars and unhealthy fats. That’s where this recipe comes in. I’ve perfected a version that’s not only ridiculously delicious but also genuinely good for you. This is my go-to healthy banana bread, and I’m so excited to share it with you. It’s moist, flavorful, and uses wholesome ingredients that will leave you feeling satisfied, not sluggish. The key to amazing banana bread is, of course, ripe bananas. The riper, the better! Look for bananas with plenty of brown spots – they’re sweeter and contribute more moisture and flavor to the bread.
Ingredients:
Getting Started: The Wet Ingredients
The first step is to get our wet ingredients perfectly combined. This is where a lot of the moisture and sweetness will come from. In a large mixing bowl, I like to start by creaming the butter (or coconut oil) and honey (or maple syrup) together. If you’re using butter, make sure it’s softened but not melted. This will help create a lighter texture in the final bread. Whisk them together until they are well combined and have a smooth, creamy consistency. Don’t worry if it looks a little separated at first; it will come together.
Next, we’ll add the mashed bananas. Remember, the spottier the bananas, the sweeter and more flavorful your bread will be. I usually mash mine with a fork directly in a separate bowl until they are mostly smooth with a few small lumps remaining. This is personal preference, but I find those little banana chunks add a lovely texture. Add the mashed banana to your butter and honey mixture. Now, crack in your two large eggs. The eggs act as a binder and contribute to the structure of the bread. Finally, stir in the vanilla extract. Vanilla is a flavor enhancer, and it really rounds out the sweetness of the bananas and honey. Mix everything together until it’s thoroughly combined and you have a luscious, fragrant wet batter.
Bringin extractg it All Together: The Dry Ingredients and Combining
Now it’s time to introduce our dry ingredients. In a separate medium bowl, whisk together the white whole wheat flour, baking soda, salt, and cinnamon. Whisking these dry ingredients together before adding them to the wet ingredients helps ensure that the leavening agent (baking soda) and salt are evenly distributed, which is crucial for an even bake. Baking soda is what gives our banana bread its lift, and the salt balances the sweetness. The cinnamon adds a wonderful warmth and spice that complements the banana flavor beautifully.
Once your dry ingredients are whisked, it’s time to combine the wet and dry. Add the dry ingredients to the wet ingredients in the large bowl. Now, this is a critical point: do not overmix! Gently fold the dry ingredients into the wet ingredients using a spatula or wooden spoon until just combined. You should still see a few streaks of flour. Overmixing can develop the gluten in the flour too much, resulting in a tough, dense bread. We want a tender crum extractb, so a light hand is key here.
Baking Your Healthy Banana Bread
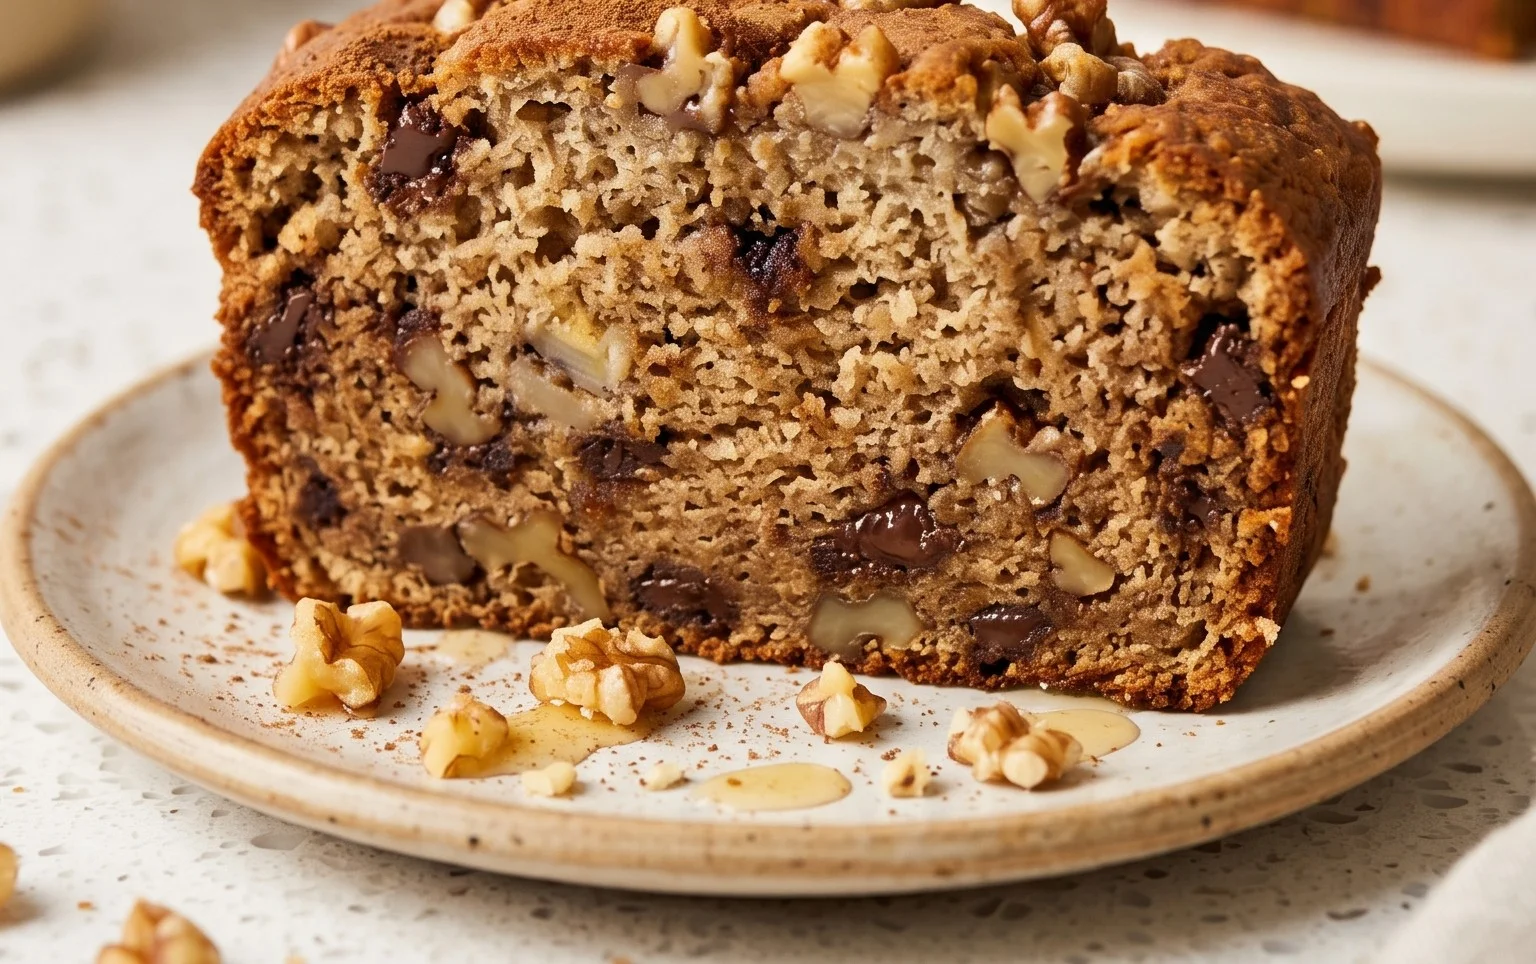
Before you even start mixing your batter, preheat your oven to 350°F (175°C). Prepare your loaf pan by greasing it well with butter or coconut oil, or lining it with parchment paper. This will prevent the bread from sticking and make it easy to remove once it’s baked. Pour the batter into the prepared loaf pan and spread it evenly. If you like, you can sprinkle a few extra cinnamon or even some chopped nuts (like walnuts or pecans) on top for an extra crunch and flavor.
Place the loaf pan in the preheated oven and bake for 50-65 minutes. The exact baking time will depend on your oven, so it’s important to keep an eye on it. You’ll know the banana bread is done when a wooden skewer or toothpick inserted into the center comes out clean, with no wet batter attached. The top should be golden brown and firm to the touch.
Cooling and Enjoying
Once your banana bread is baked to perfection, remove it from the oven. Let it cool in the loaf pan for about 10-15 minutes. This allows the bread to set up a bit more before you try to remove it. After this initial cooling period, carefully invert the loaf pan onto a wire rack to release the bread. Then, allow the banana bread to cool completely on the wire rack before slicing. Slicing it while it’s too warm can cause it to crum extractble. This cooling process is essential for the best texture.
Once completely cooled, slice your beautiful, healthy banana bread and enjoy! It’s delicious on its own, or you can serve it with a smear of almond butter or a dollop of Greek yogurt. This bread keeps well at room temperature for a few days, or you can store it in the refrigerator for up to a week. It also freezes beautifully, so you can make a double batch and have healthy banana bread on hand whenever a craving strikes. Enjoy this guilt-free treat!
Conclusion:
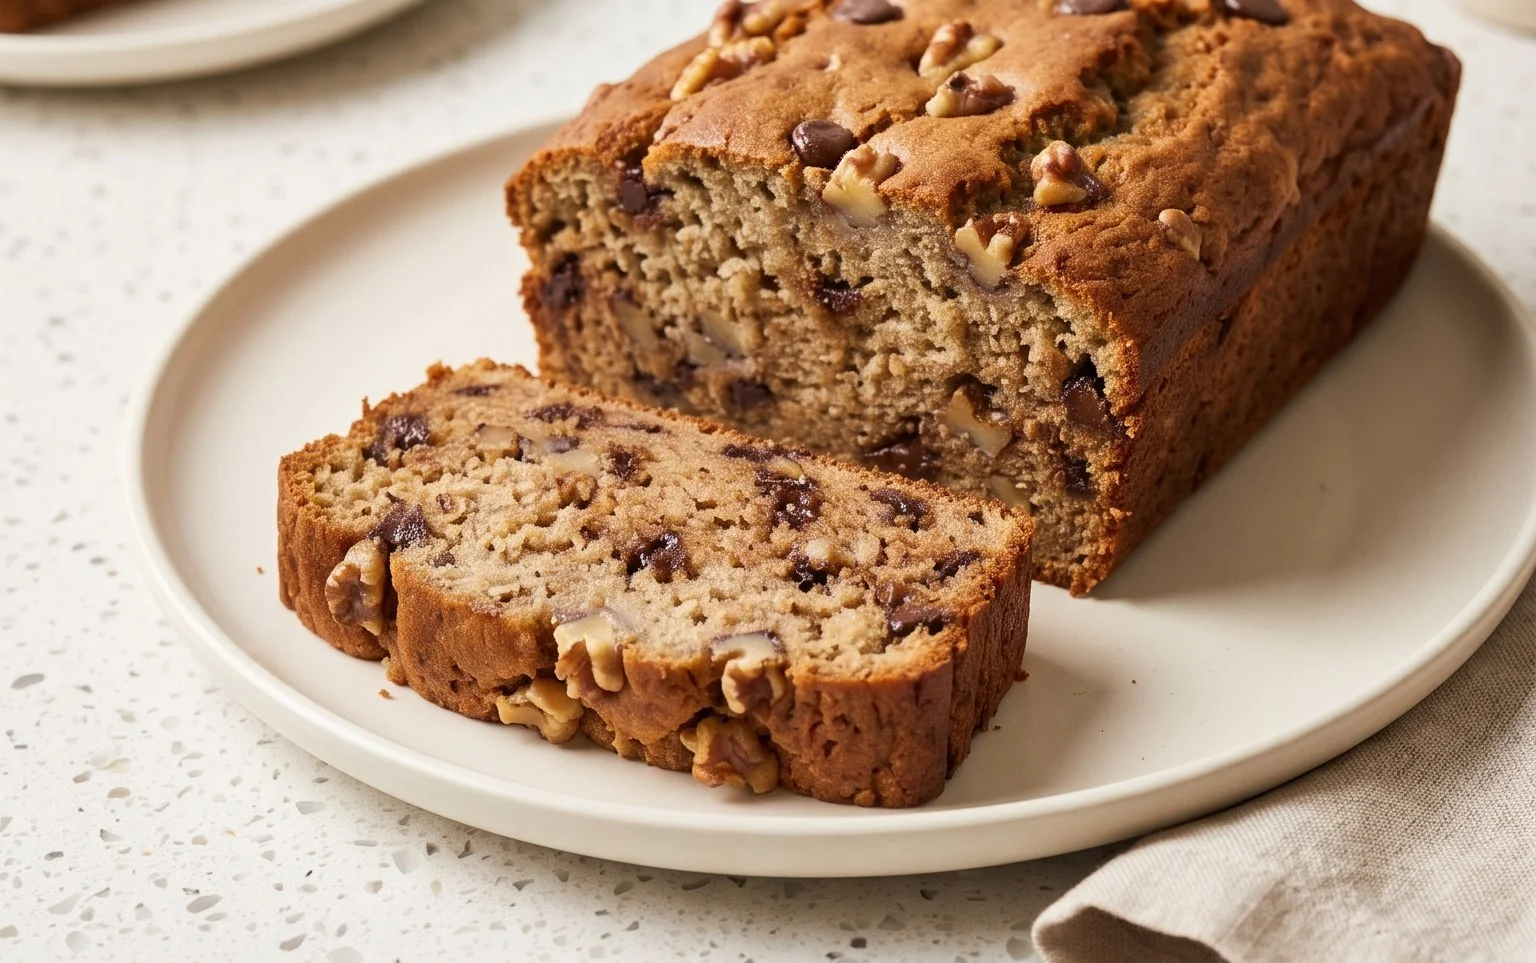
I hope you’re as excited to bake this The Best Healthy Banana Bread Recipe as I am to share it! This recipe truly is a winner because it delivers all the comforting, moist, and delicious flavor you expect from banana bread, without the added refined sugars and unhealthy fats. We’ve packed it with wholesome ingredients like whole wheat flour, ripe bananas for natural sweetness, and healthy fats, making it a guilt-free treat you can enjoy any time of day. It’s perfect for a quick breakfast, an afternoon snack, or even a light dessert. Feel free to elevate your experience by serving it warm with a dollop of Greek yogurt or a sprinkle of cinnamon. Don’t be afraid to get creative with variations – add in chopped walnuts or pecans for extra crunch, or a handful of dark chocolate chips for a touch of indulgence. I truly encourage you to give this recipe a try; I’m confident it will become a staple in your kitchen!
Frequently Asked Questions:
Can I make this banana bread vegan?
Absolutely! To make this recipe vegan, simply substitute the eggs with two “flax eggs” (2 tablespoons of ground flaxseed mixed with 6 tablespoons of water, let sit for 5 minutes) and use a plant-based milk like almond or oat milk. Ensure your chocolate chips are dairy-free if you choose to add them.
My bananas weren’t very ripe. Will the bread still be sweet enough?
While ripe, spotty bananas are ideal for maximum natural sweetness and moisture, this recipe is designed to still be delicious even with slightly less ripe bananas. If you find you prefer a sweeter loaf, you can add a tablespoon or two of honey, maple syrup, or your preferred liquid sweetener. However, I recommend tasting the batter first to gauge its sweetness!
How long does this healthy banana bread last?
Stored in an airtight container at room temperature, this banana bread will stay fresh for about 2-3 days. For longer storage, you can refrigerate it for up to a week or freeze individual slices wrapped tightly for up to 3 months. Reheat gently in the oven or toaster oven for a fresh-from-the-oven taste.
The Best Healthy Banana Bread Recipe
A delicious and healthy banana bread recipe that’s easy to make.
Ingredients
-
5 tablespoons unsalted butter (or coconut oil)
-
½ cup honey (or pure maple syrup)
-
1 ¾ cups mashed ripe banana (about 3 ½ large or 5 medium bananas)
-
2 eggs
-
1 teaspoon baking soda
-
½ teaspoon salt
-
½ teaspoon cinnamon
-
1 teaspoon vanilla extract
-
2 cups (250 grams) white whole wheat flour (or regular whole wheat flour or all-purpose flour)
Instructions
-
Step 1
Preheat oven to 350°F (175°C). Grease and flour a 9×5 inch loaf pan. -
Step 2
In a large bowl, cream together melted butter (or coconut oil) and honey (or maple syrup). -
Step 3
Beat in the mashed bananas and eggs until well combined. -
Step 4
In a separate bowl, whisk together the flour, baking soda, salt, and cinnamon. -
Step 5
Gradually add the dry ingredients to the wet ingredients, mixing until just combined. Stir in the vanilla extract. -
Step 6
Pour the batter into the prepared loaf pan and bake for 50-60 minutes, or until a toothpick inserted into the center comes out clean. -
Step 7
Let the bread cool in the pan for 10 minutes before transferring it to a wire rack to cool completely.
Important Information
Nutrition Facts (Per Serving)
It is important to consider this information as approximate and not to use it as definitive health advice.
Allergy Information
Please check ingredients for potential allergens and consult a health professional if in doubt.