Refreshing Watermelon Cake Recipe- Summer Delight
Watermelon cake might just be the most whimsical and refreshing dessert you’ll ever encounter. Forget heavy buttercreams and dense sponge; this is pure, unadulterated summer joy in every slice. People adore this Watermelon cake because it’s a showstopper that’s surprisingly easy to make, requiring no baking at all! Imagin extracte a vibrant, layered creation that looks like a giant slice of watermelon but delivers a delightful medley of textures and flavors. We’re talking about sweet, juicy watermelon forming the base, nestled with layers of whipped cream and fresh berries, all coming together in a stunning, guilt-free indulgence. It’s the perfect centerpiece for any warm-weather gathering, a dazzling testament to nature’s sweetest bounty. Get ready to wow your guests and yourself with this incredibly unique Watermelon cake!
Watermelon Cake
This watermelon cake is more of an artistic creation than a traditional baked good, and it’s incredibly fun to make! It’s the perfect centerpiece for a summer party, a healthy alternative to sugary desserts, and surprisingly easy to assemble. Forget the oven; this “cake” relies on the natural beauty and refreshing taste of fresh fruit. It’s a fantastic way to get everyone, especially kids, excited about eating healthy. Let’s dive into how we’re going to construct this delightful and vibrant treat!
Ingredients:
Preparing the Watermelon Base
The foundation of our watermelon cake is, of course, watermelon! We’ll need to prepare both the large and small watermelons to create our tiered effect.
Step 1: Carving the Large Watermelon Base
First, take your large watermelon. You’ll want to ensure it’s stable. To do this, carefully slice off a thin layer from the bottom of the watermelon so it can sit flat on your serving platter without rolling. Think of it like leveling the base of a real cake. Next, we need to create the main “cake” layer. Using a sharp, long knife (a serrated bread knife works wonderfully for this), carefully cut off the rind from the top and sides of the watermelon. You want to aim for a relatively uniform cylinder shape. Don’t worry too much about perfect symmetry; a slightly rustic look is charming for a fruit cake! The goal is to expose as much of the vibrant red flesh as possible. Once the rind is removed, you can further trim the top and sides to create a smoother, more cake-like appearance if you desire. Place this prepared watermelon “cake” onto your serving platter.
Step 2: Shaping the Small Watermelon Tier
Now, let’s prepare the smaller watermelon for the top tier. Similar to the larger one, slice off a thin piece from the bottom of the small watermelon to ensure it sits stably. Then, carefully remove the rind from the top and sides, aiming for a cylindrical or slightly rounded shape. You can make this tier slightly shorter than the large one, or experiment with a different shape to add visual interest. Once prepared, you’ll need a way to attach it to the larger watermelon. This is where the wood skewers come in handy. Insert 2-3 wood skewers vertically into the top of the large watermelon, leaving about 2-3 inches sticking out. These skewers will act as dowels, providing support for the smaller watermelon tier and preventing it from sinking into the larger one.
Decorating the Watermelon Cake
This is where the fun really begin extracts! We’ll use an assortment of colorful berries and fresh mint to adorn our fruity creation.
Step 3: Assembling the Tiers and Initial Berry Adornment
Gently place the prepared small watermelon tier on top of the larger watermelon, aligning it over the protruding skewers. It should rest securely. Now, it’s time to start decorating! Think of the berries as your frosting and sprinkles. Start by pressing some of the larger berries, like grapes, into the sides of the large watermelon. You can use wood toothpicks to help secure them if they don’t adhere well. We’re aiming for a natural, abundant look. Don’t be afraid to let some berries cascade down the sides. For the top tier, you can repeat this process, pressing berries into the sides of the smaller watermelon.
Step 4: Creating a Berry “Frosting” Effect and Adding Fine Details
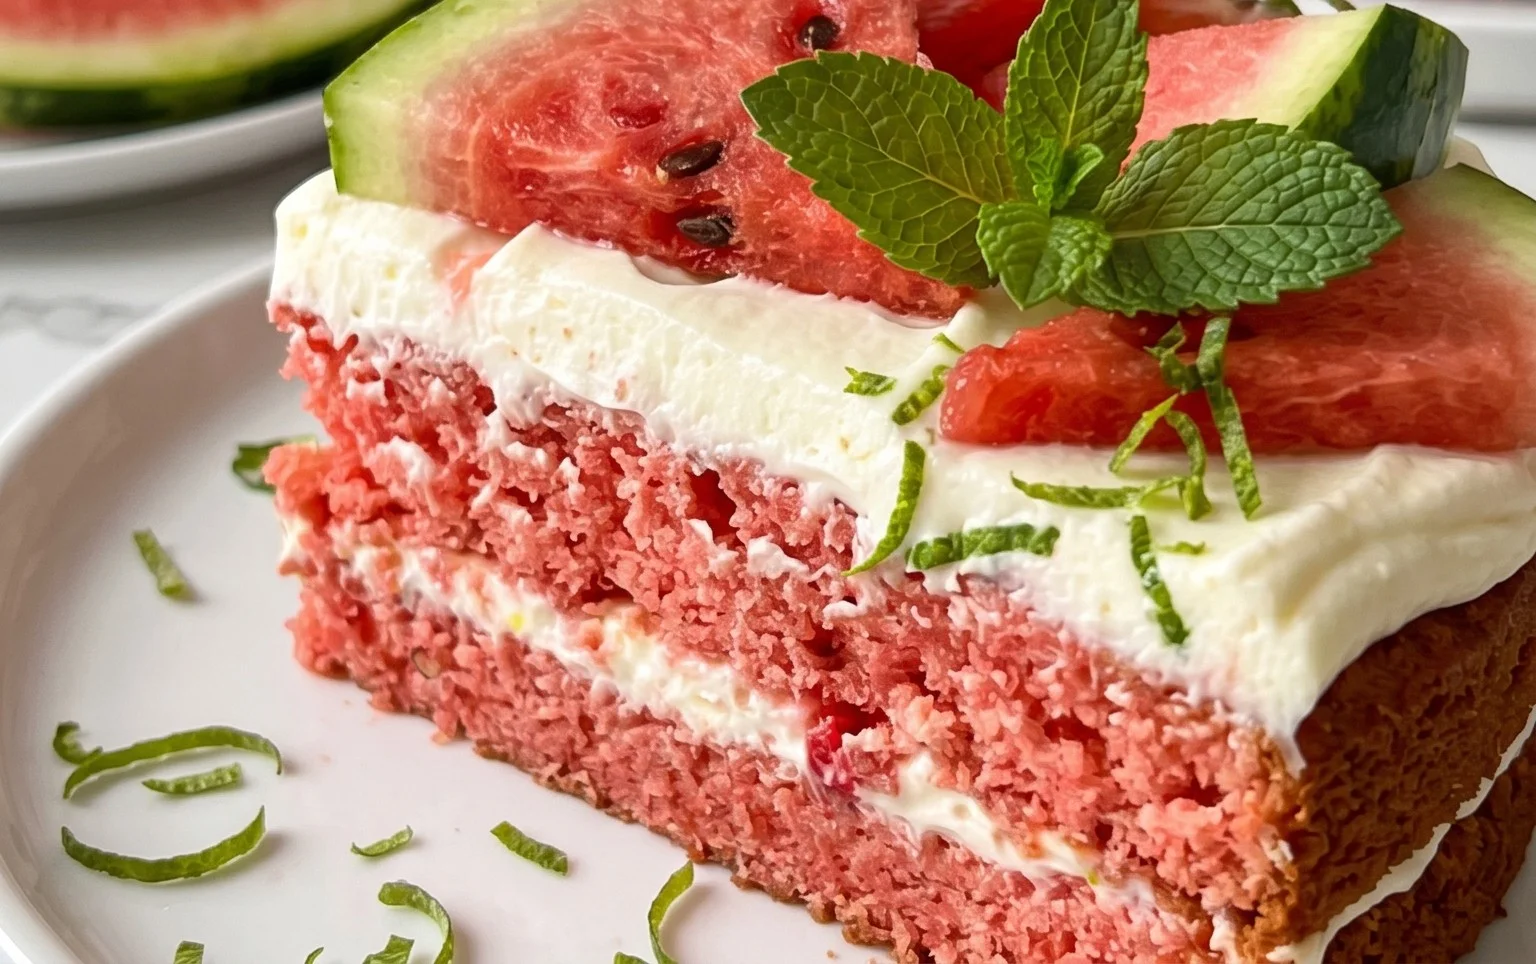
To create a more cohesive “frosted” look, you can start filling in the gaps between the larger berries with smaller ones like blueberries, blackberries, and raspberries. Gently push them into the watermelon flesh. You can also use toothpicks to secure stubborn berries. For the very top of the cake, you can create a delightful “bouquet” of berries, piling them up in the center. This is also a great place to start incorporating the fresh mint. Tuck sprigs of mint in between the berries to add a pop of green and a refreshing aroma. The contrast of the bright red watermelon, the jewel-toned berries, and the fresh green mint will be stunning.
Step 5: Final Touches and Presentation
Once you feel your watermelon cake is sufficiently adorned, take a step back and assess. Are there any bare spots? Do you want more berries cascading down the sides? Feel free to add more as you see fit. You can also use some of the whole grapes or larger berries to create patterns or borders around the base of the cake on the serving platter. The fresh mint can be used to create a decorative rim around the base of the cake, or tucked in strategically all over for a more scattered, whimsical look. The key is to have fun with it! This watermelon cake is meant to be a celebration of fresh ingredients and creativity. Once you’re happy with its appearance, it’s ready to be presented to your guests. It’s best served chilled, so consider making it a few hours in advance and keeping it in the refrigerator until serving time. Enjoy the oohs and aahs!
Conclusion:
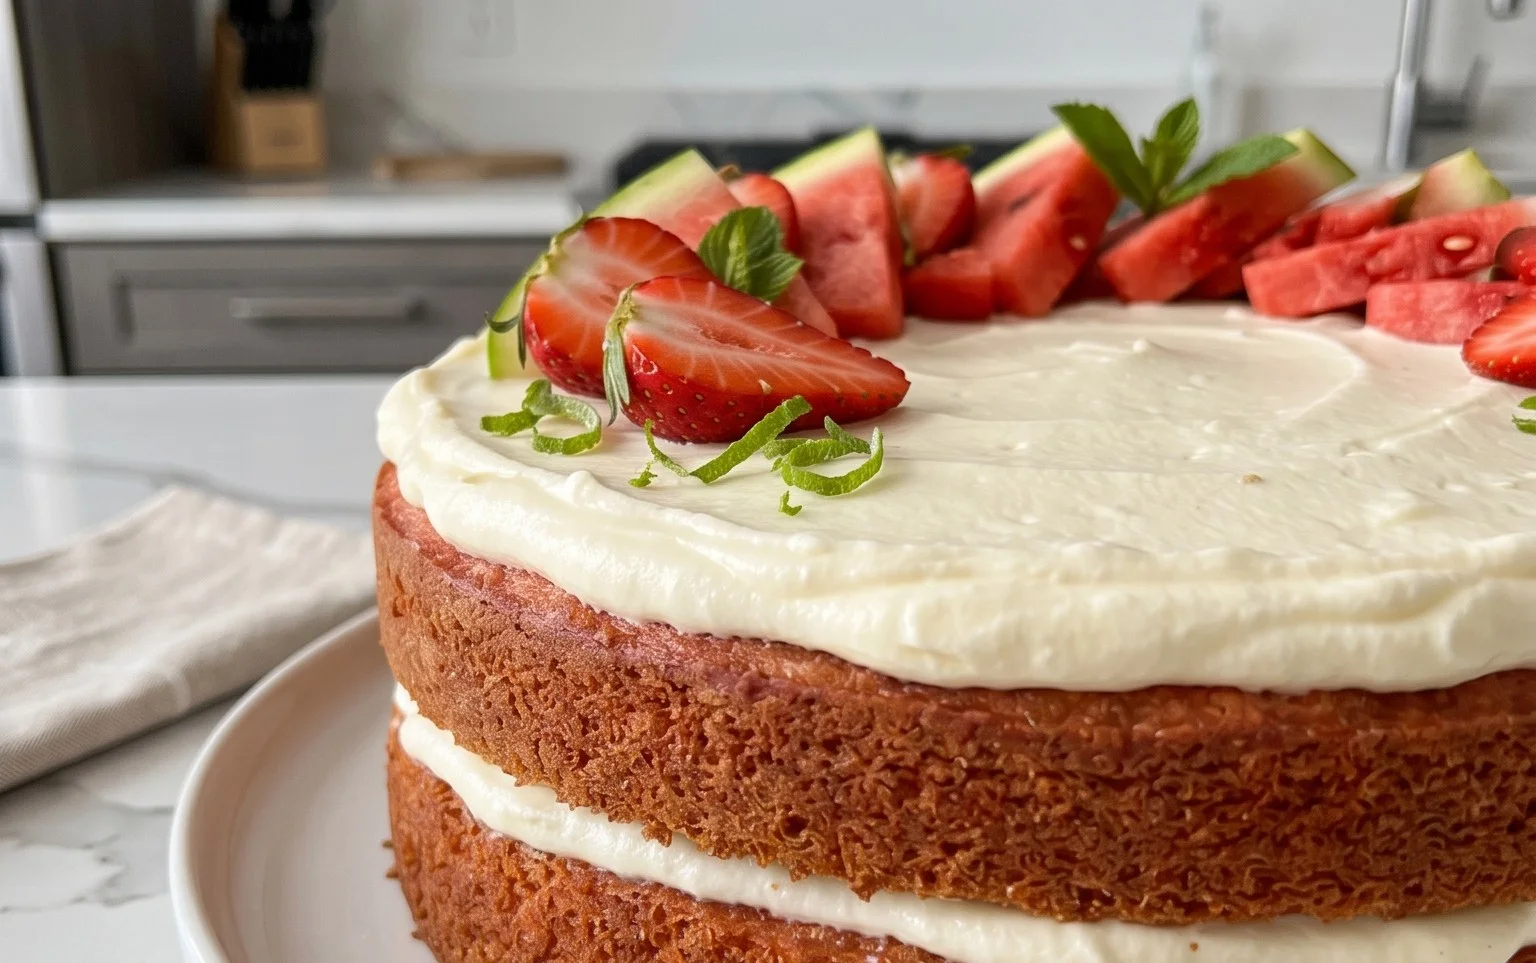
And there you have it – a truly spectacular Watermelon Cake that’s not only a feast for the eyes but also a refreshing delight for your taste buds! This recipe is wonderful because it transforms the humble watermelon into a show-stopping dessert, perfect for summer gatherings, birthdays, or any occasion where you want something unique and vibrant. Its natural sweetness and hydrating properties make it a guilt-free indulgence. The beauty of this Watermelon Cake lies in its simplicity and the impressive visual impact it delivers with minimal effort. I truly encourage you to give this recipe a try; you won’t be disappointed!
For serving, consider presenting your Watermelon Cake chilled, perhaps garnished with fresh mint leaves, a dusting of powdered sugar, or a scattering of fresh berries. It’s fantastic on its own, but also pairs wonderfully with a dollop of whipped cream or a scoop of vanilla ice cream. When it comes to variations, feel free to get creative! You could add a layer of finely chopped nuts like pistachios or almonds for a delightful crunch, or even infuse the whipped cream topping with a hint of lime zest or rosewater for an extra layer of flavor. Enjoy experimenting!
Frequently Asked Questions about Watermelon Cake:
Can I make this cake ahead of time?
Yes, you can prepare the watermelon base and the frosting a day in advance. However, it’s best to assemble the final Watermelon Cake just a few hours before serving, especially if you’re adding delicate garnishes, to ensure it remains as fresh and structurally sound as possible. The watermelon itself will start to release its juices over time, so avoid making it too far in advance.
What kind of frosting works best?
A light and airy whipped cream frosting is ideal as it complements the watermelon’s freshness without being too heavy. Cream cheese frosting can also be delicious but might add a tangin extractess that some may prefer. For a healthier option, a coconut whipped cream or even a simple yogurt-based frosting could work wonders. Experiment with what suits your preference!
Watermelon Cake
A refreshing and visually stunning ‘cake’ made from layered watermelon and fresh berries, perfect for summer celebrations.
Ingredients
-
1 large Watermelon
-
1 small Watermelon
-
Wood Skewers
-
Wood Toothpicks
-
Grapes
-
Blueberries
-
Blackberries
-
Raspberries
-
Fresh Mint
Instructions
-
Step 1
Cut the large watermelon into a thick round ‘cake’ layer, about 2-3 inches high. Remove the rind and seeds. -
Step 2
Cut the small watermelon into similar rounds or shapes to be used as decorative elements or smaller tiers. -
Step 3
Carefully stack the watermelon ‘cake’ layers, if using multiple. Use wood skewers to secure them together if needed. -
Step 4
Decorate the ‘cake’ generously with fresh grapes, blueberries, blackberries, and raspberries, pressing them gently into the watermelon flesh. -
Step 5
Garnish the top and sides with fresh mint leaves. -
Step 6
Use wood toothpicks to secure any berries or mint that may not be sticking well.
Important Information
Nutrition Facts (Per Serving)
It is important to consider this information as approximate and not to use it as definitive health advice.
Allergy Information
Please check ingredients for potential allergens and consult a health professional if in doubt.